Abstract Painting Art In Progress: Let Joy Be Your Guide
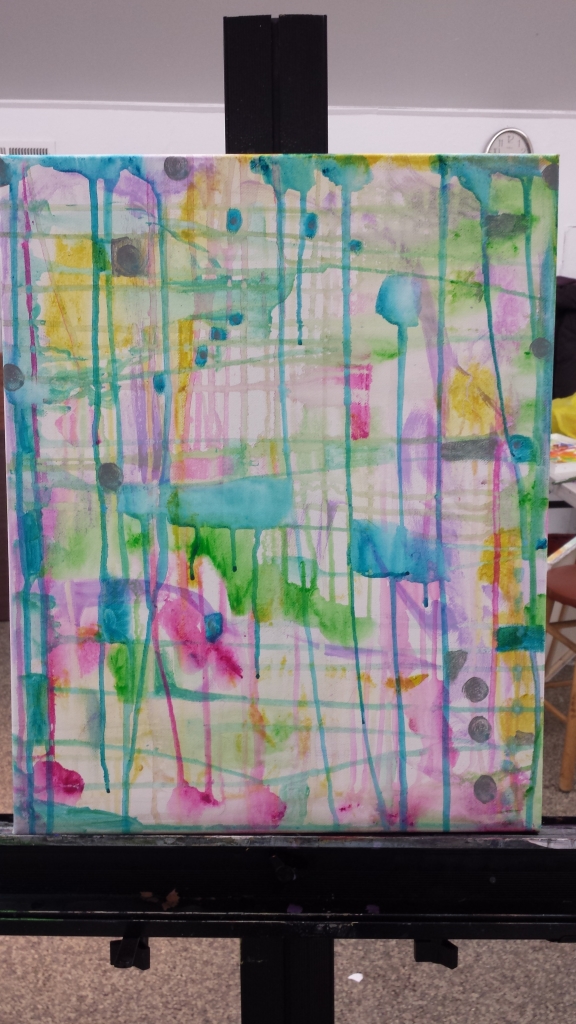
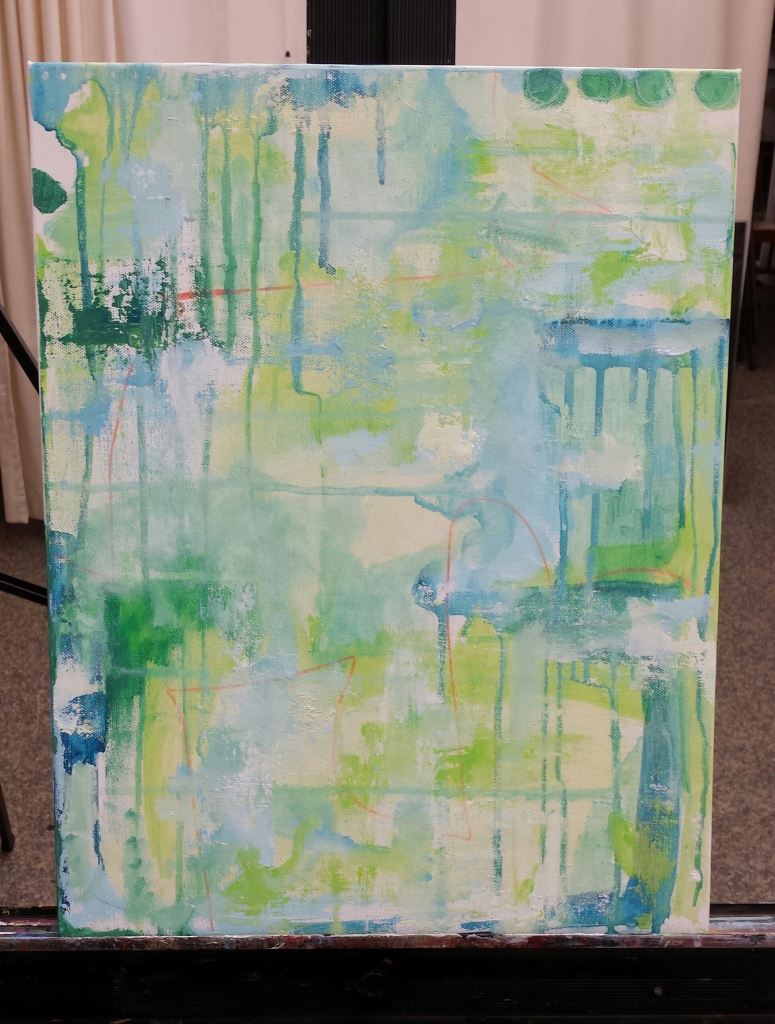
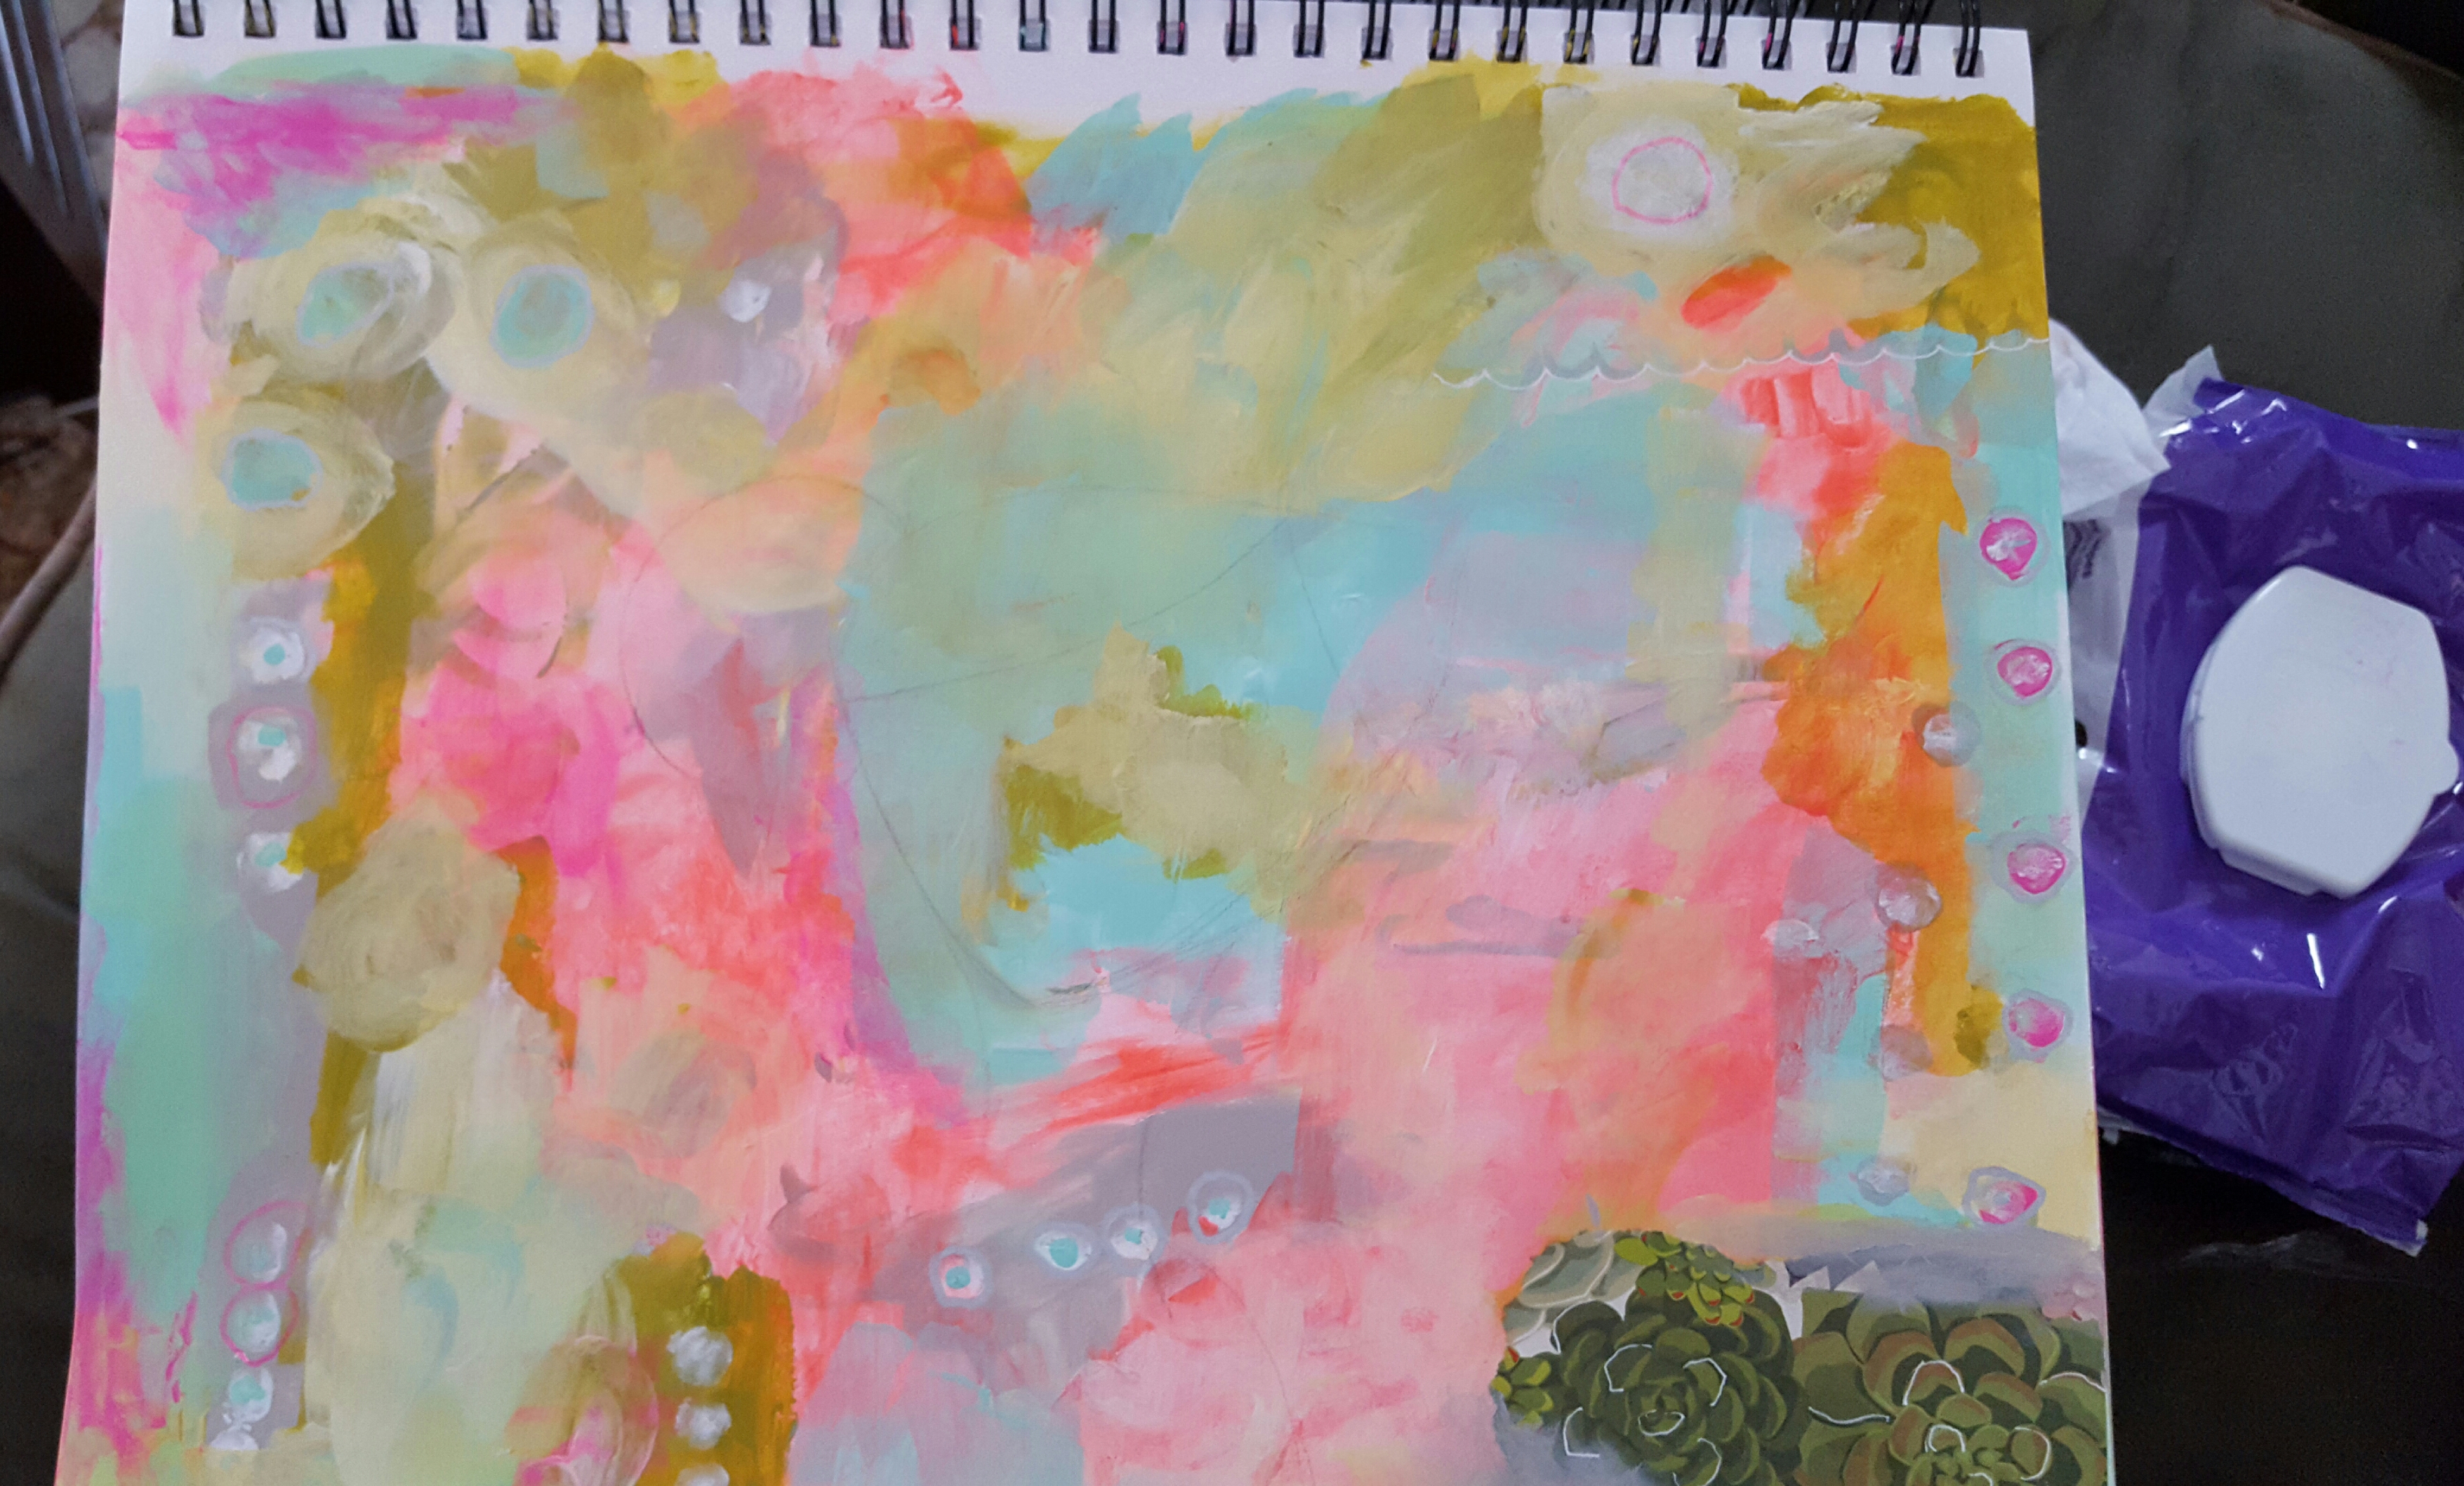
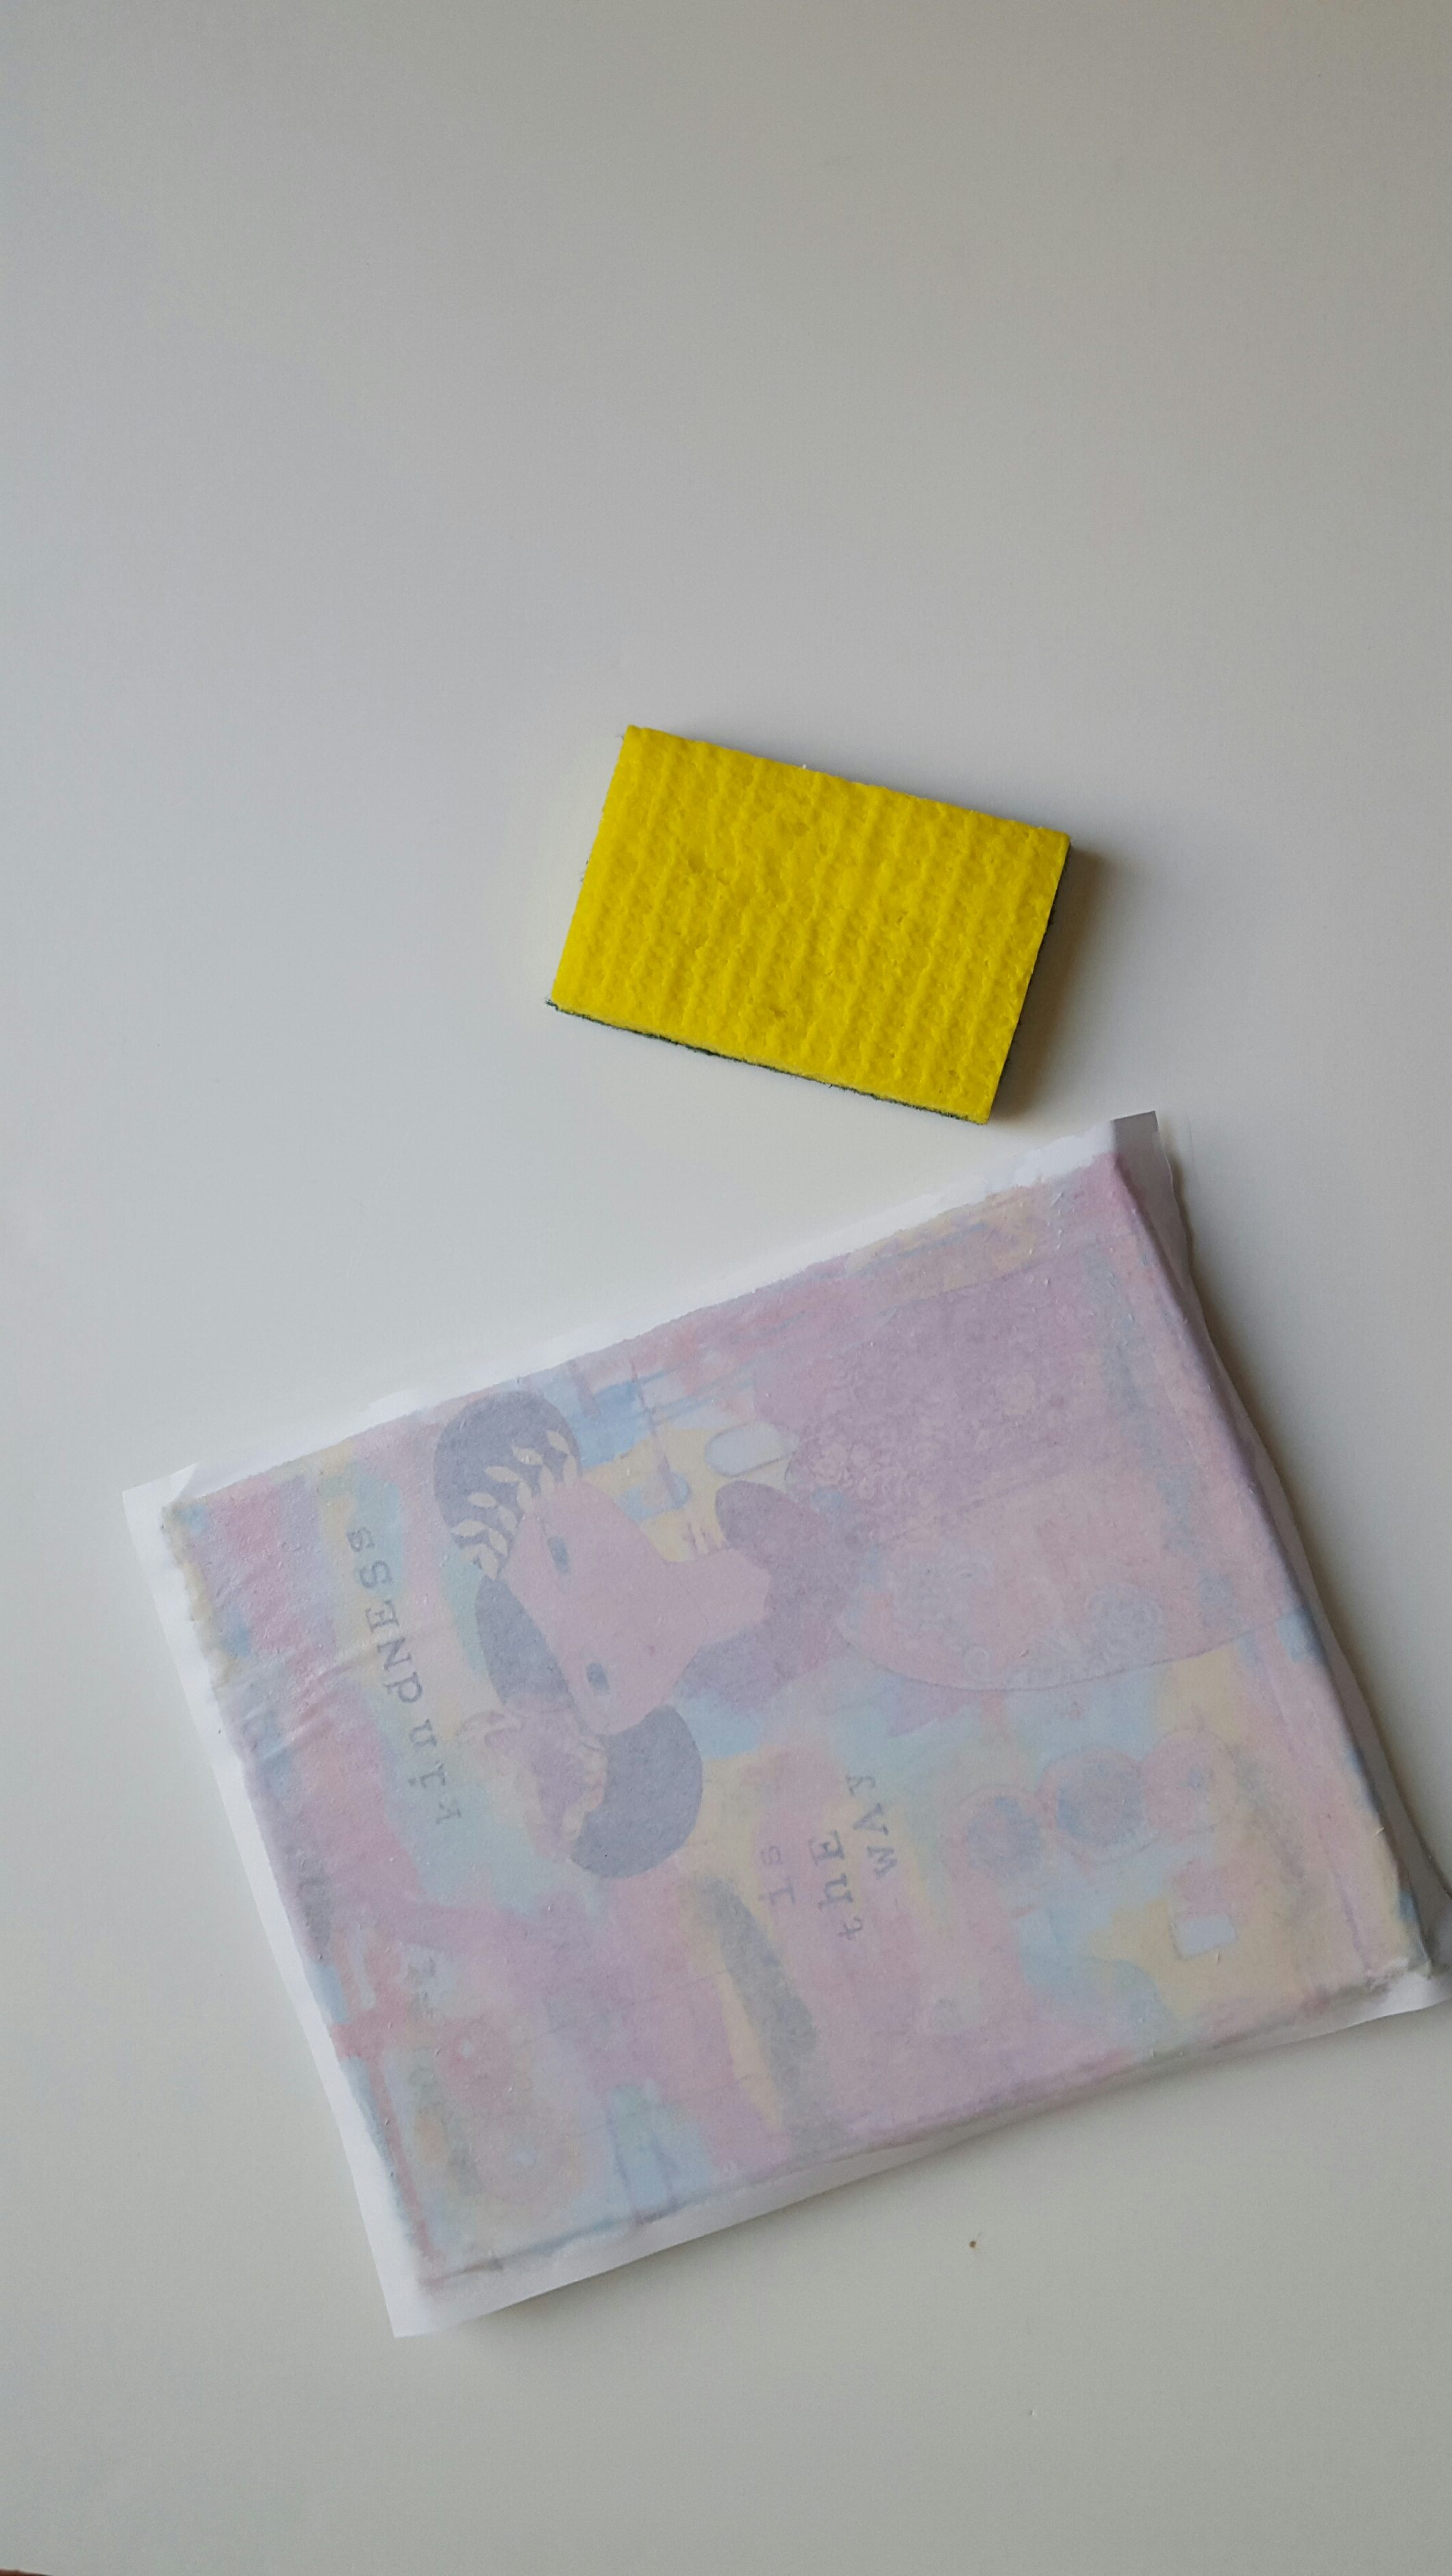
When I first started working on this one, I only had a few minutes to put some paint on paper, so I was pretty hasty in my technique. I threw some colors down and moved it around and needless to say, my lack of focus (and time) showed up in what I created. I ended up kind of hating it and because of that, this page stayed quiet for at least a month, maybe more. *Ugh* I just couldn’t figure out how to attack it again because it was so choppy looking to me and I didn’t love the color scheme. But in the end, this piece was a good lesson in not giving up–especially when I’m just at the beginning of something.

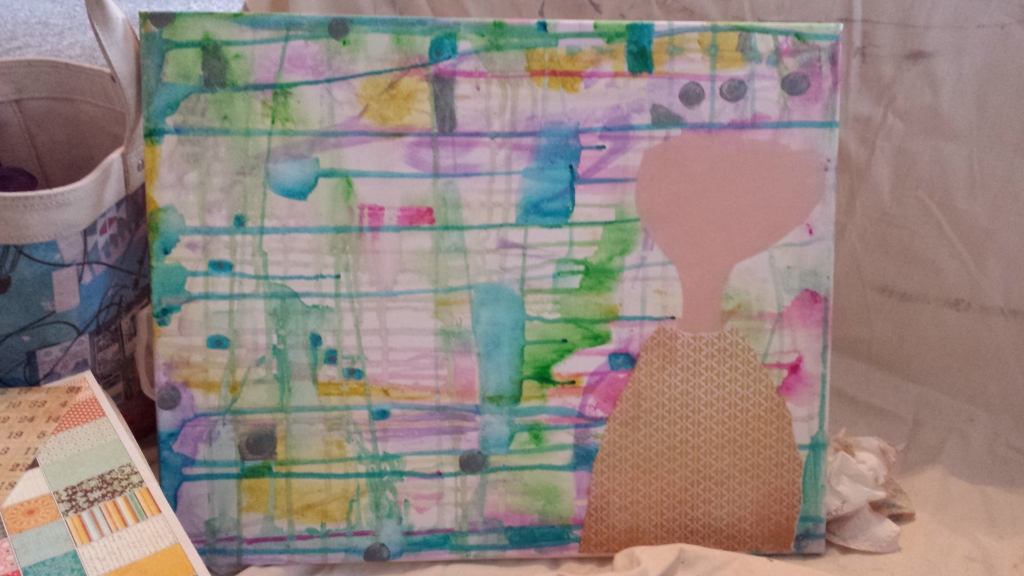
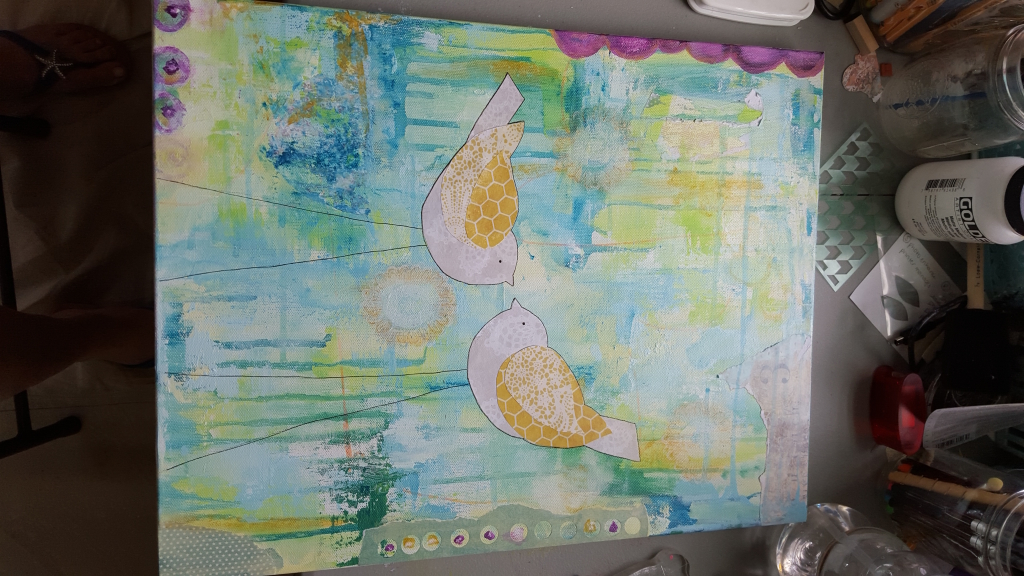
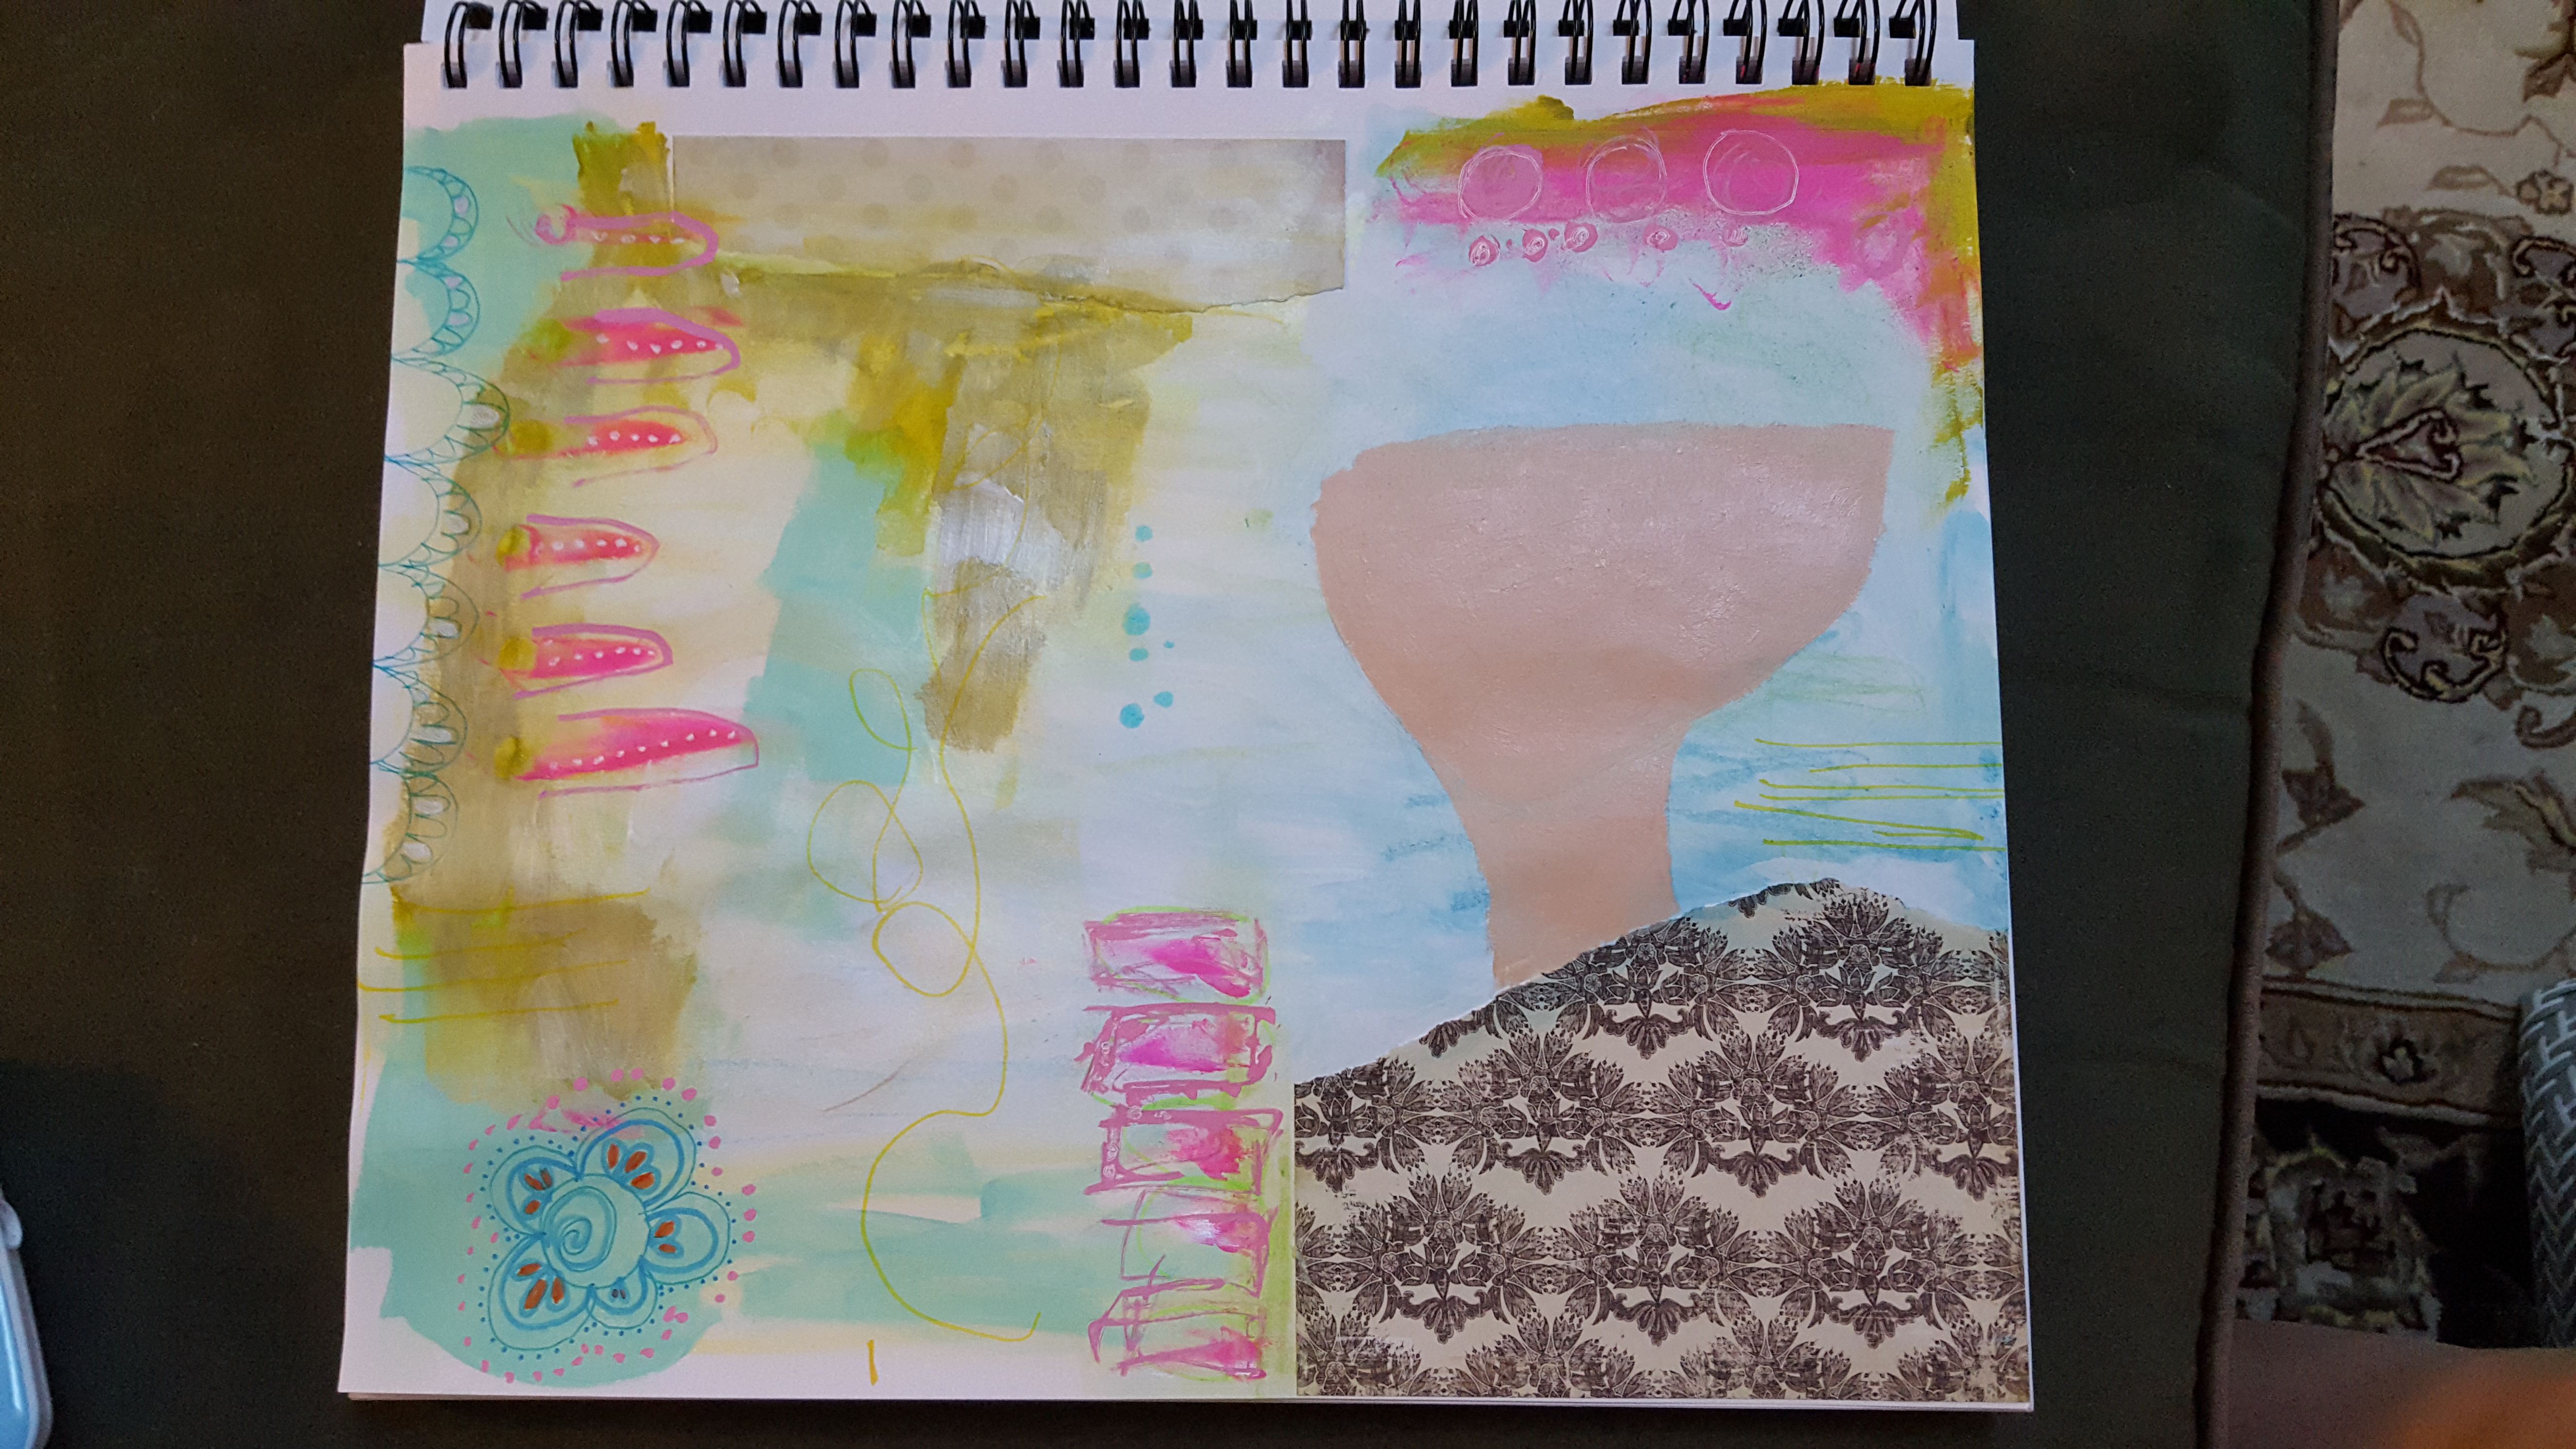
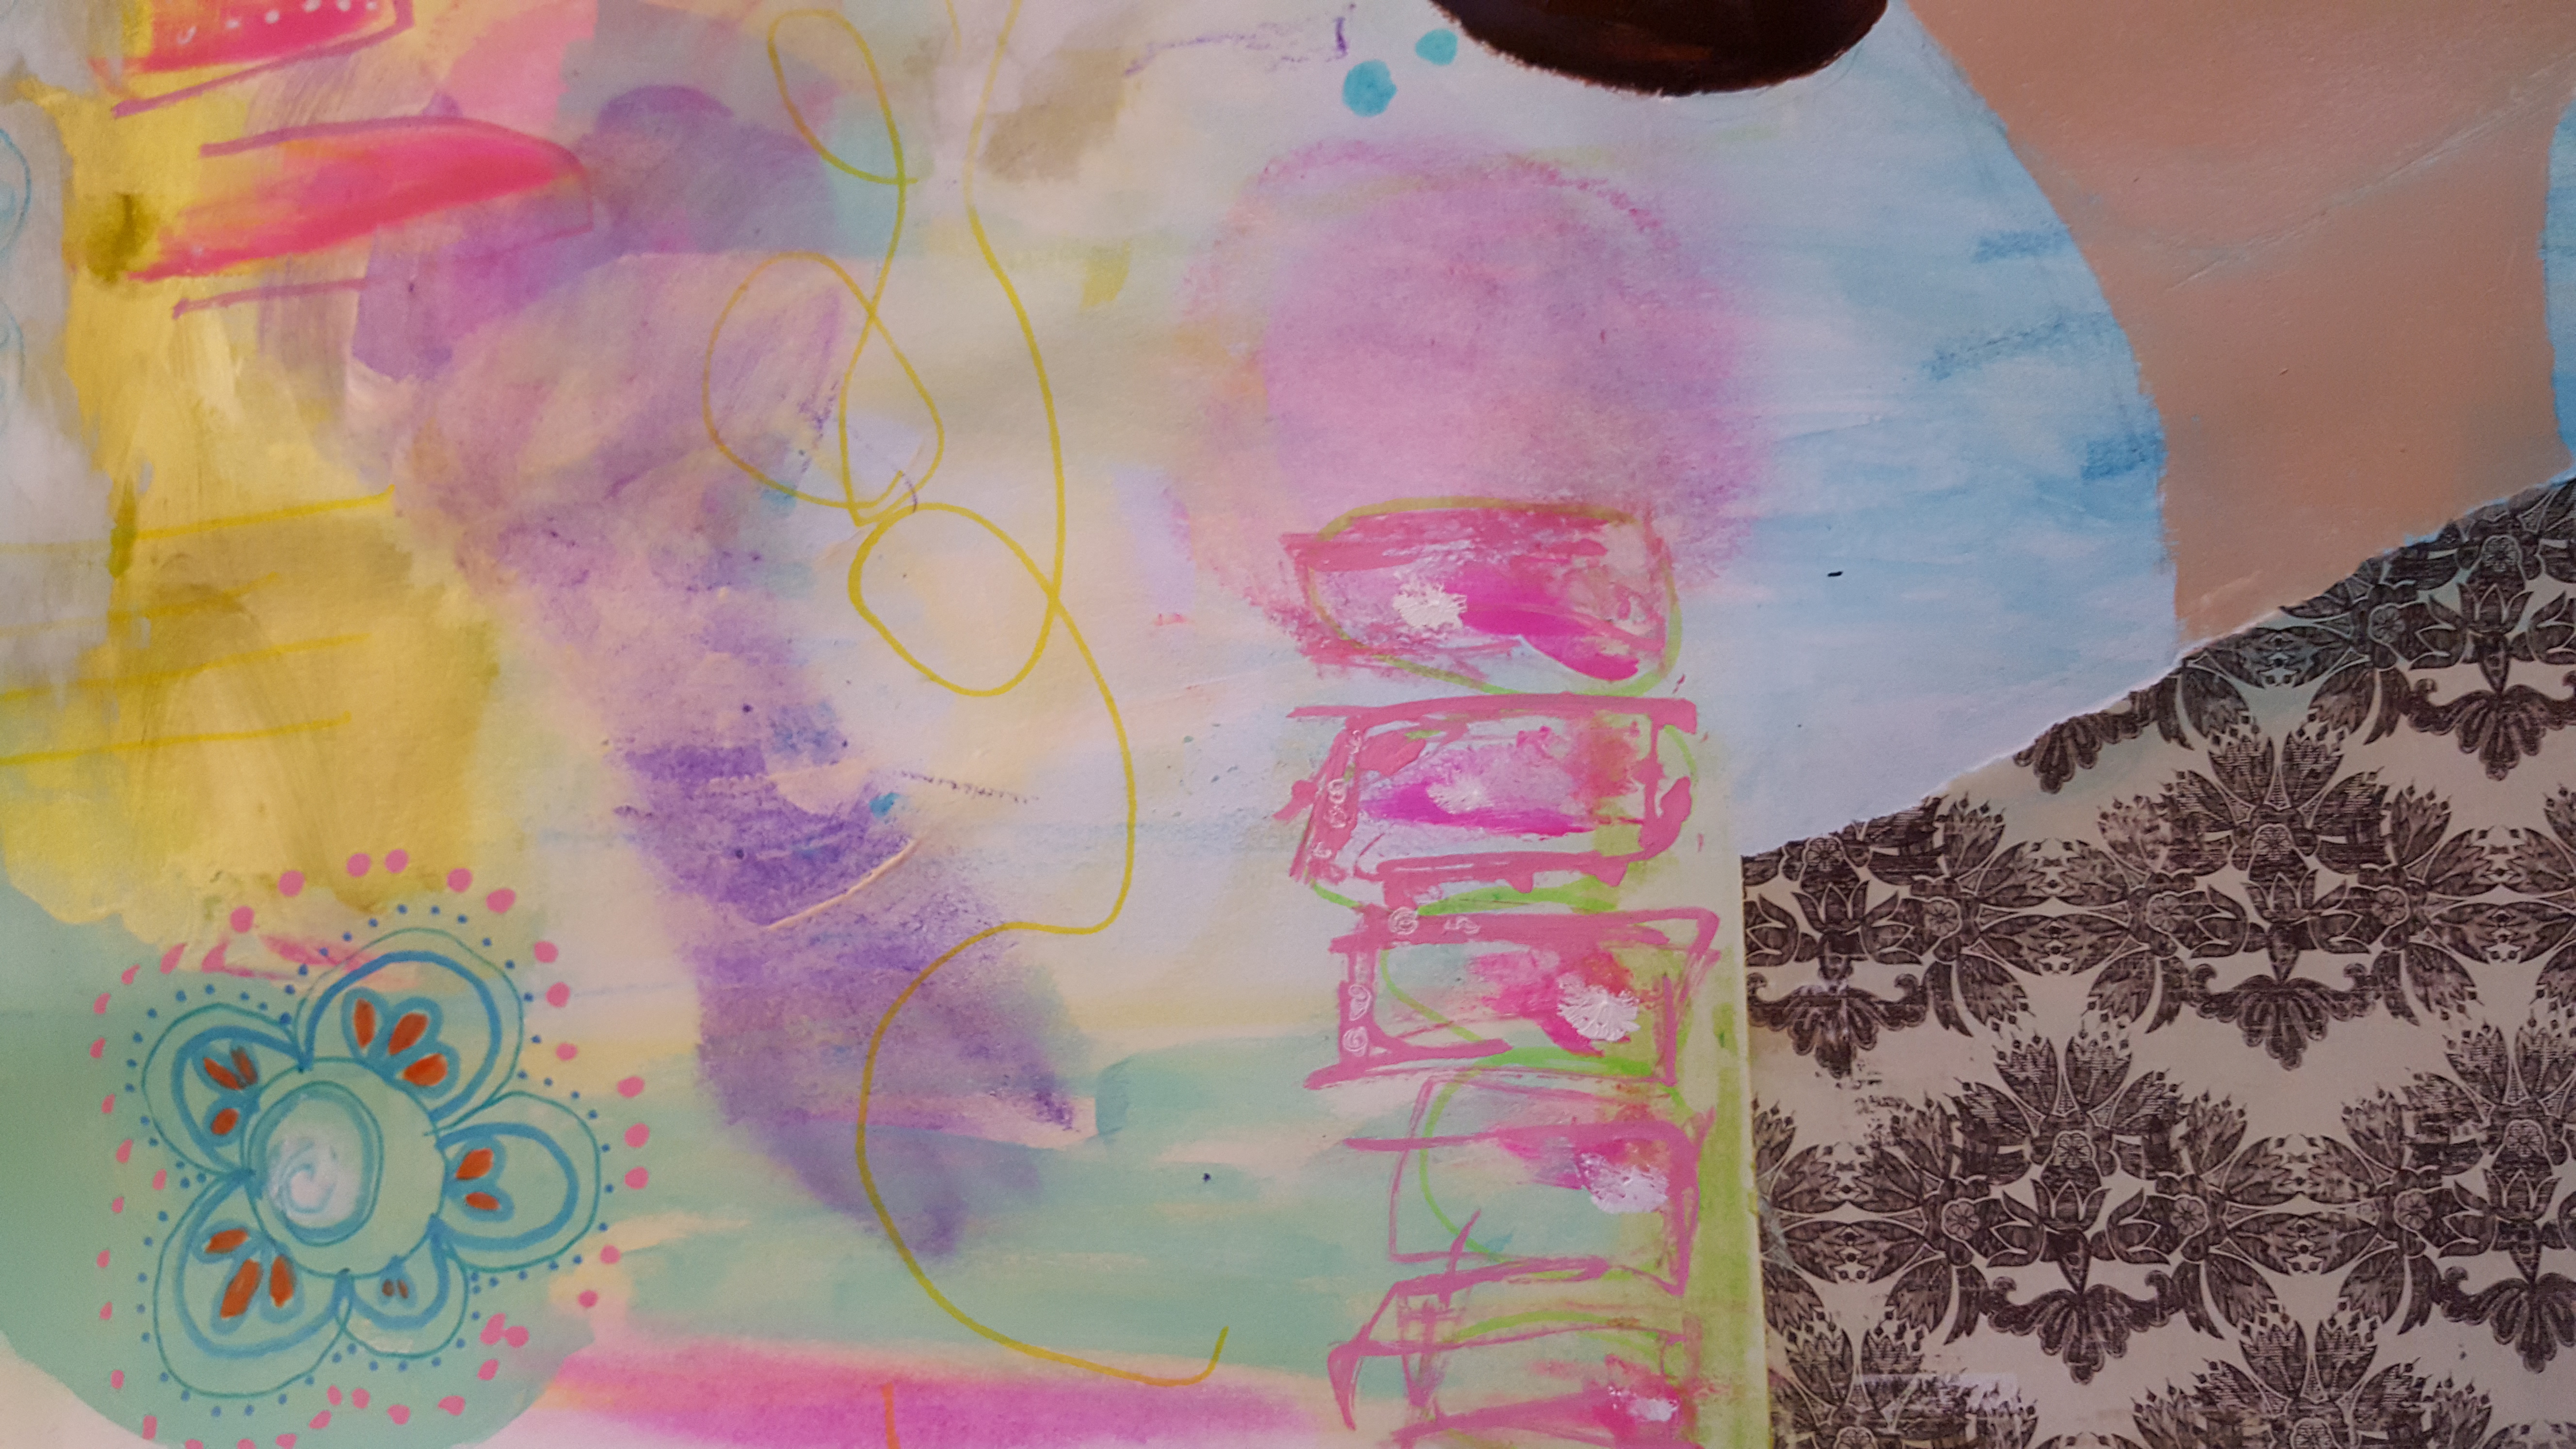
So during the next session, I went allllll in and added a different color palette. I left some of the original colors in the background, but I wanted to move this piece in a different direction than what I started with, so I added some markings and a little piece of collage. I’m not sure why I picked that piece in the bottom corner, but I saw it, liked it and then just slapped it on. I try not to think too hard when I’m creating and just go with the flow of inspiration. Eventually those little whispers make sense.
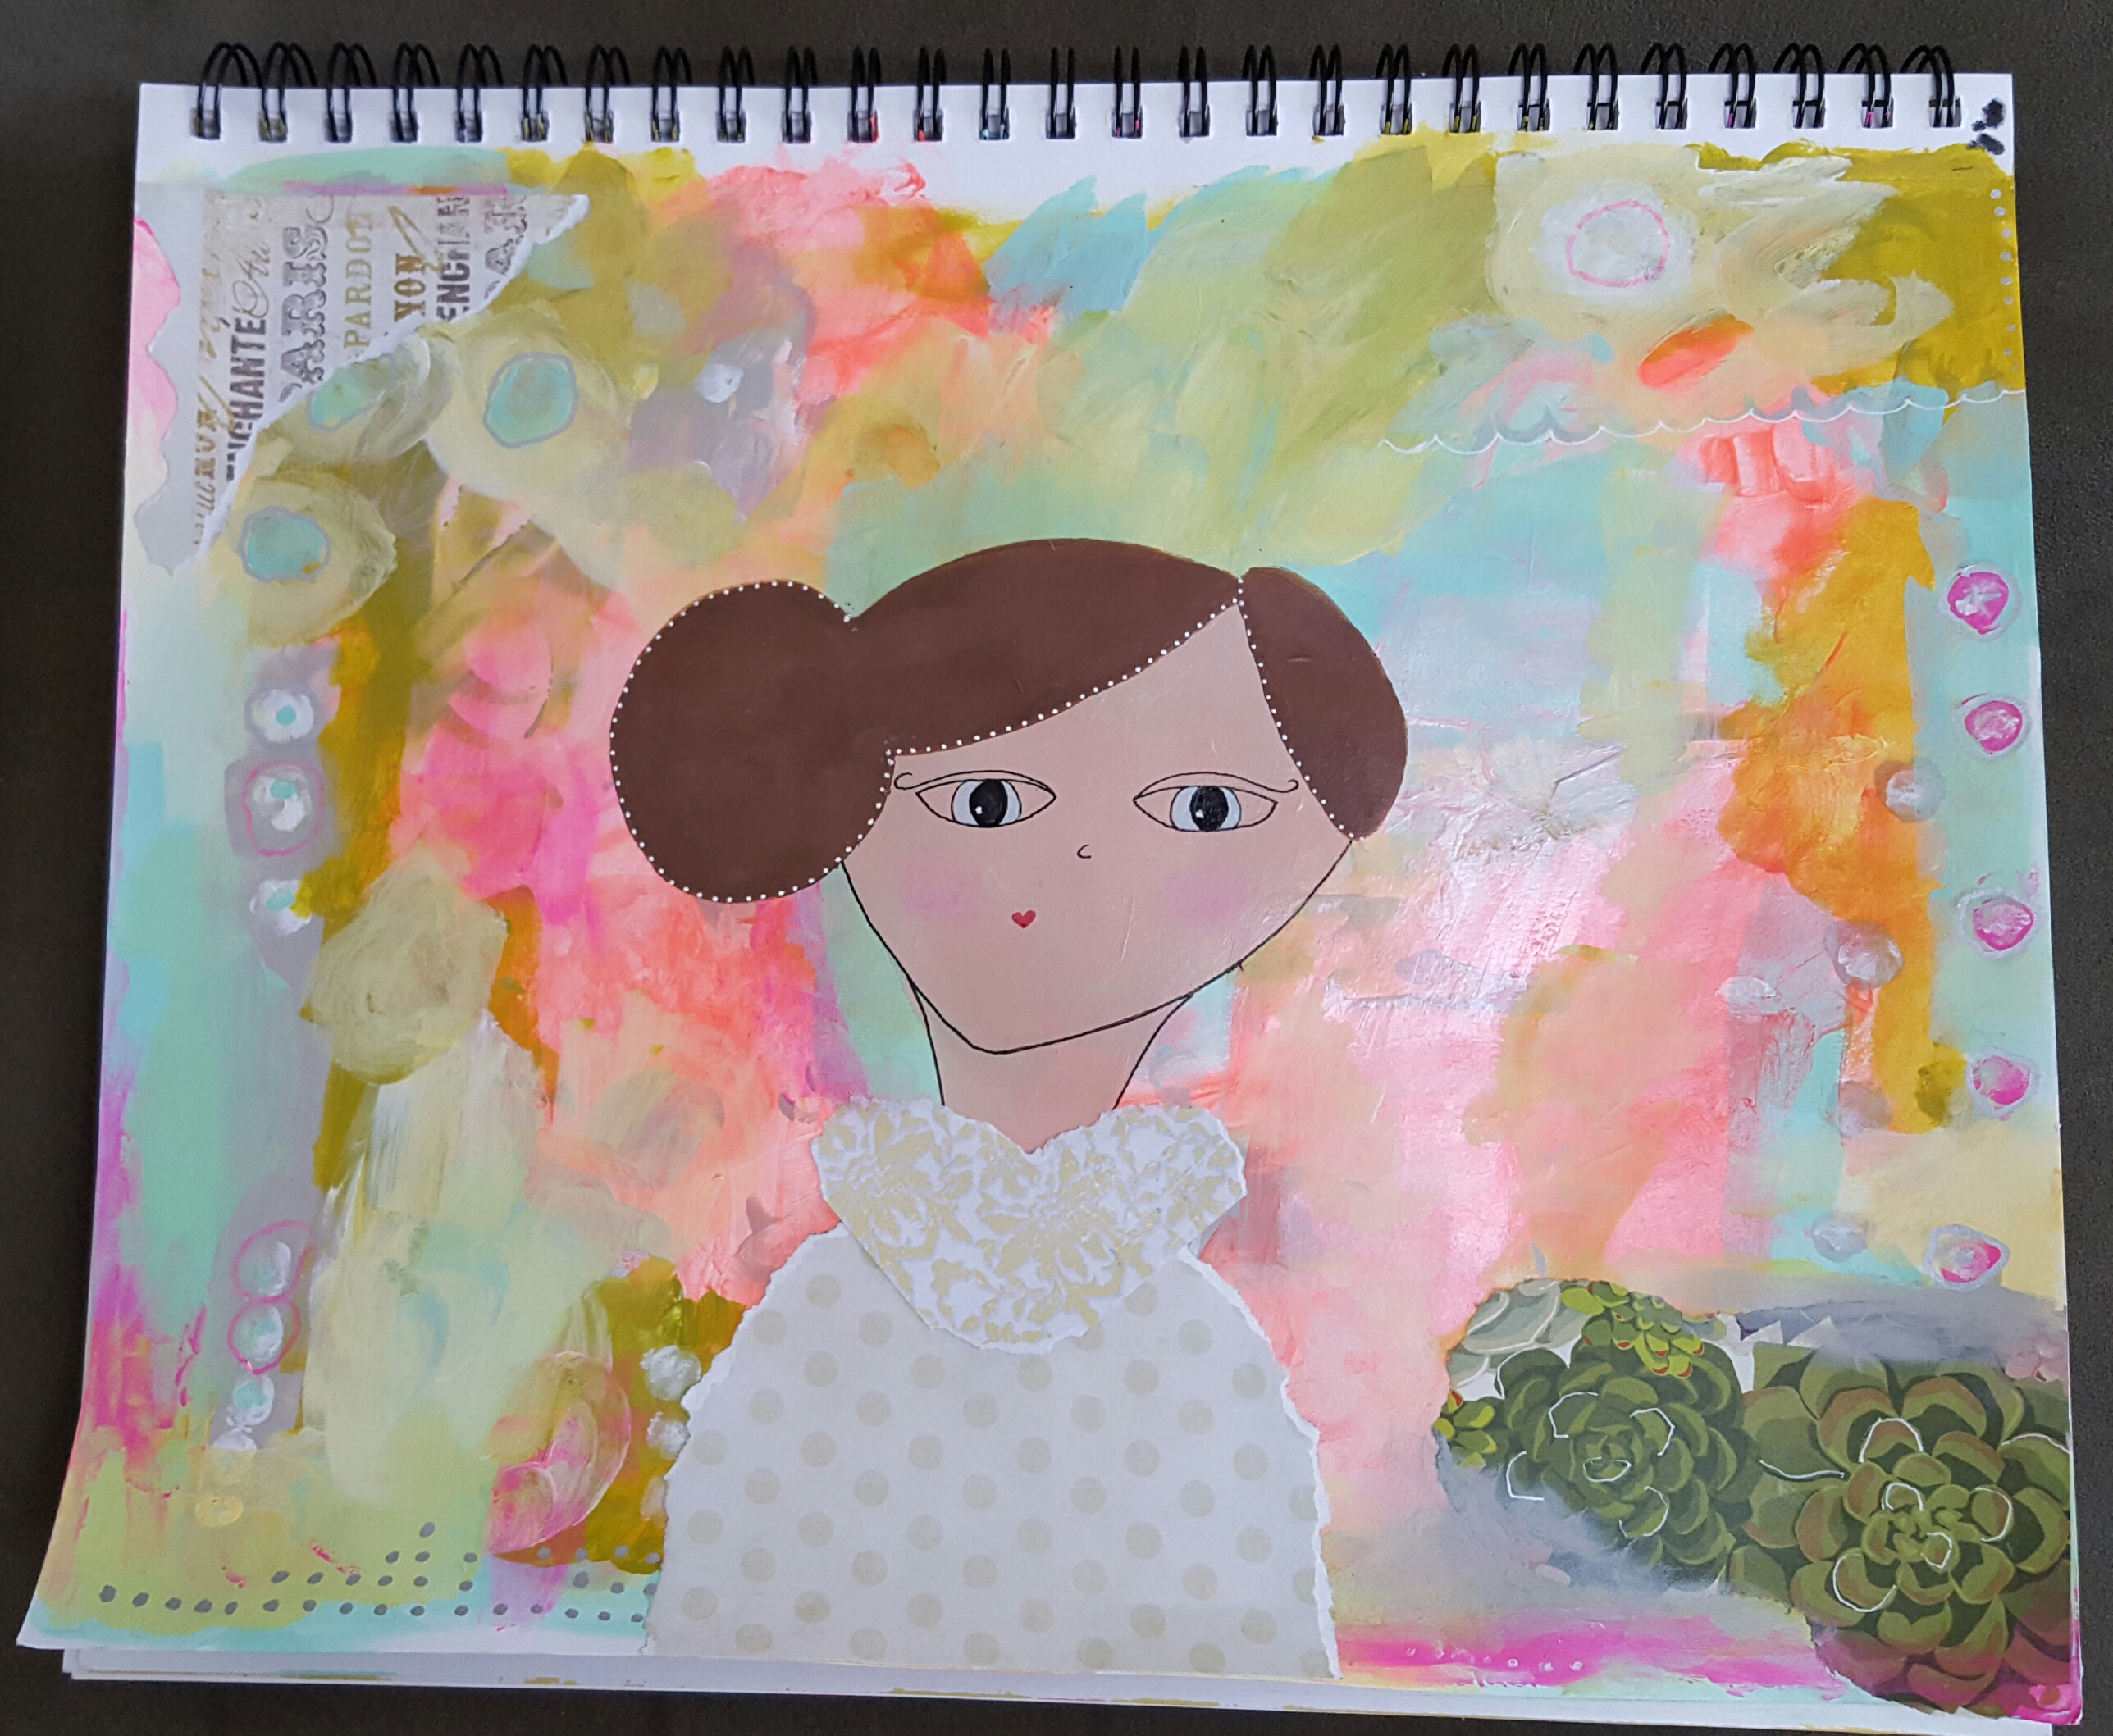
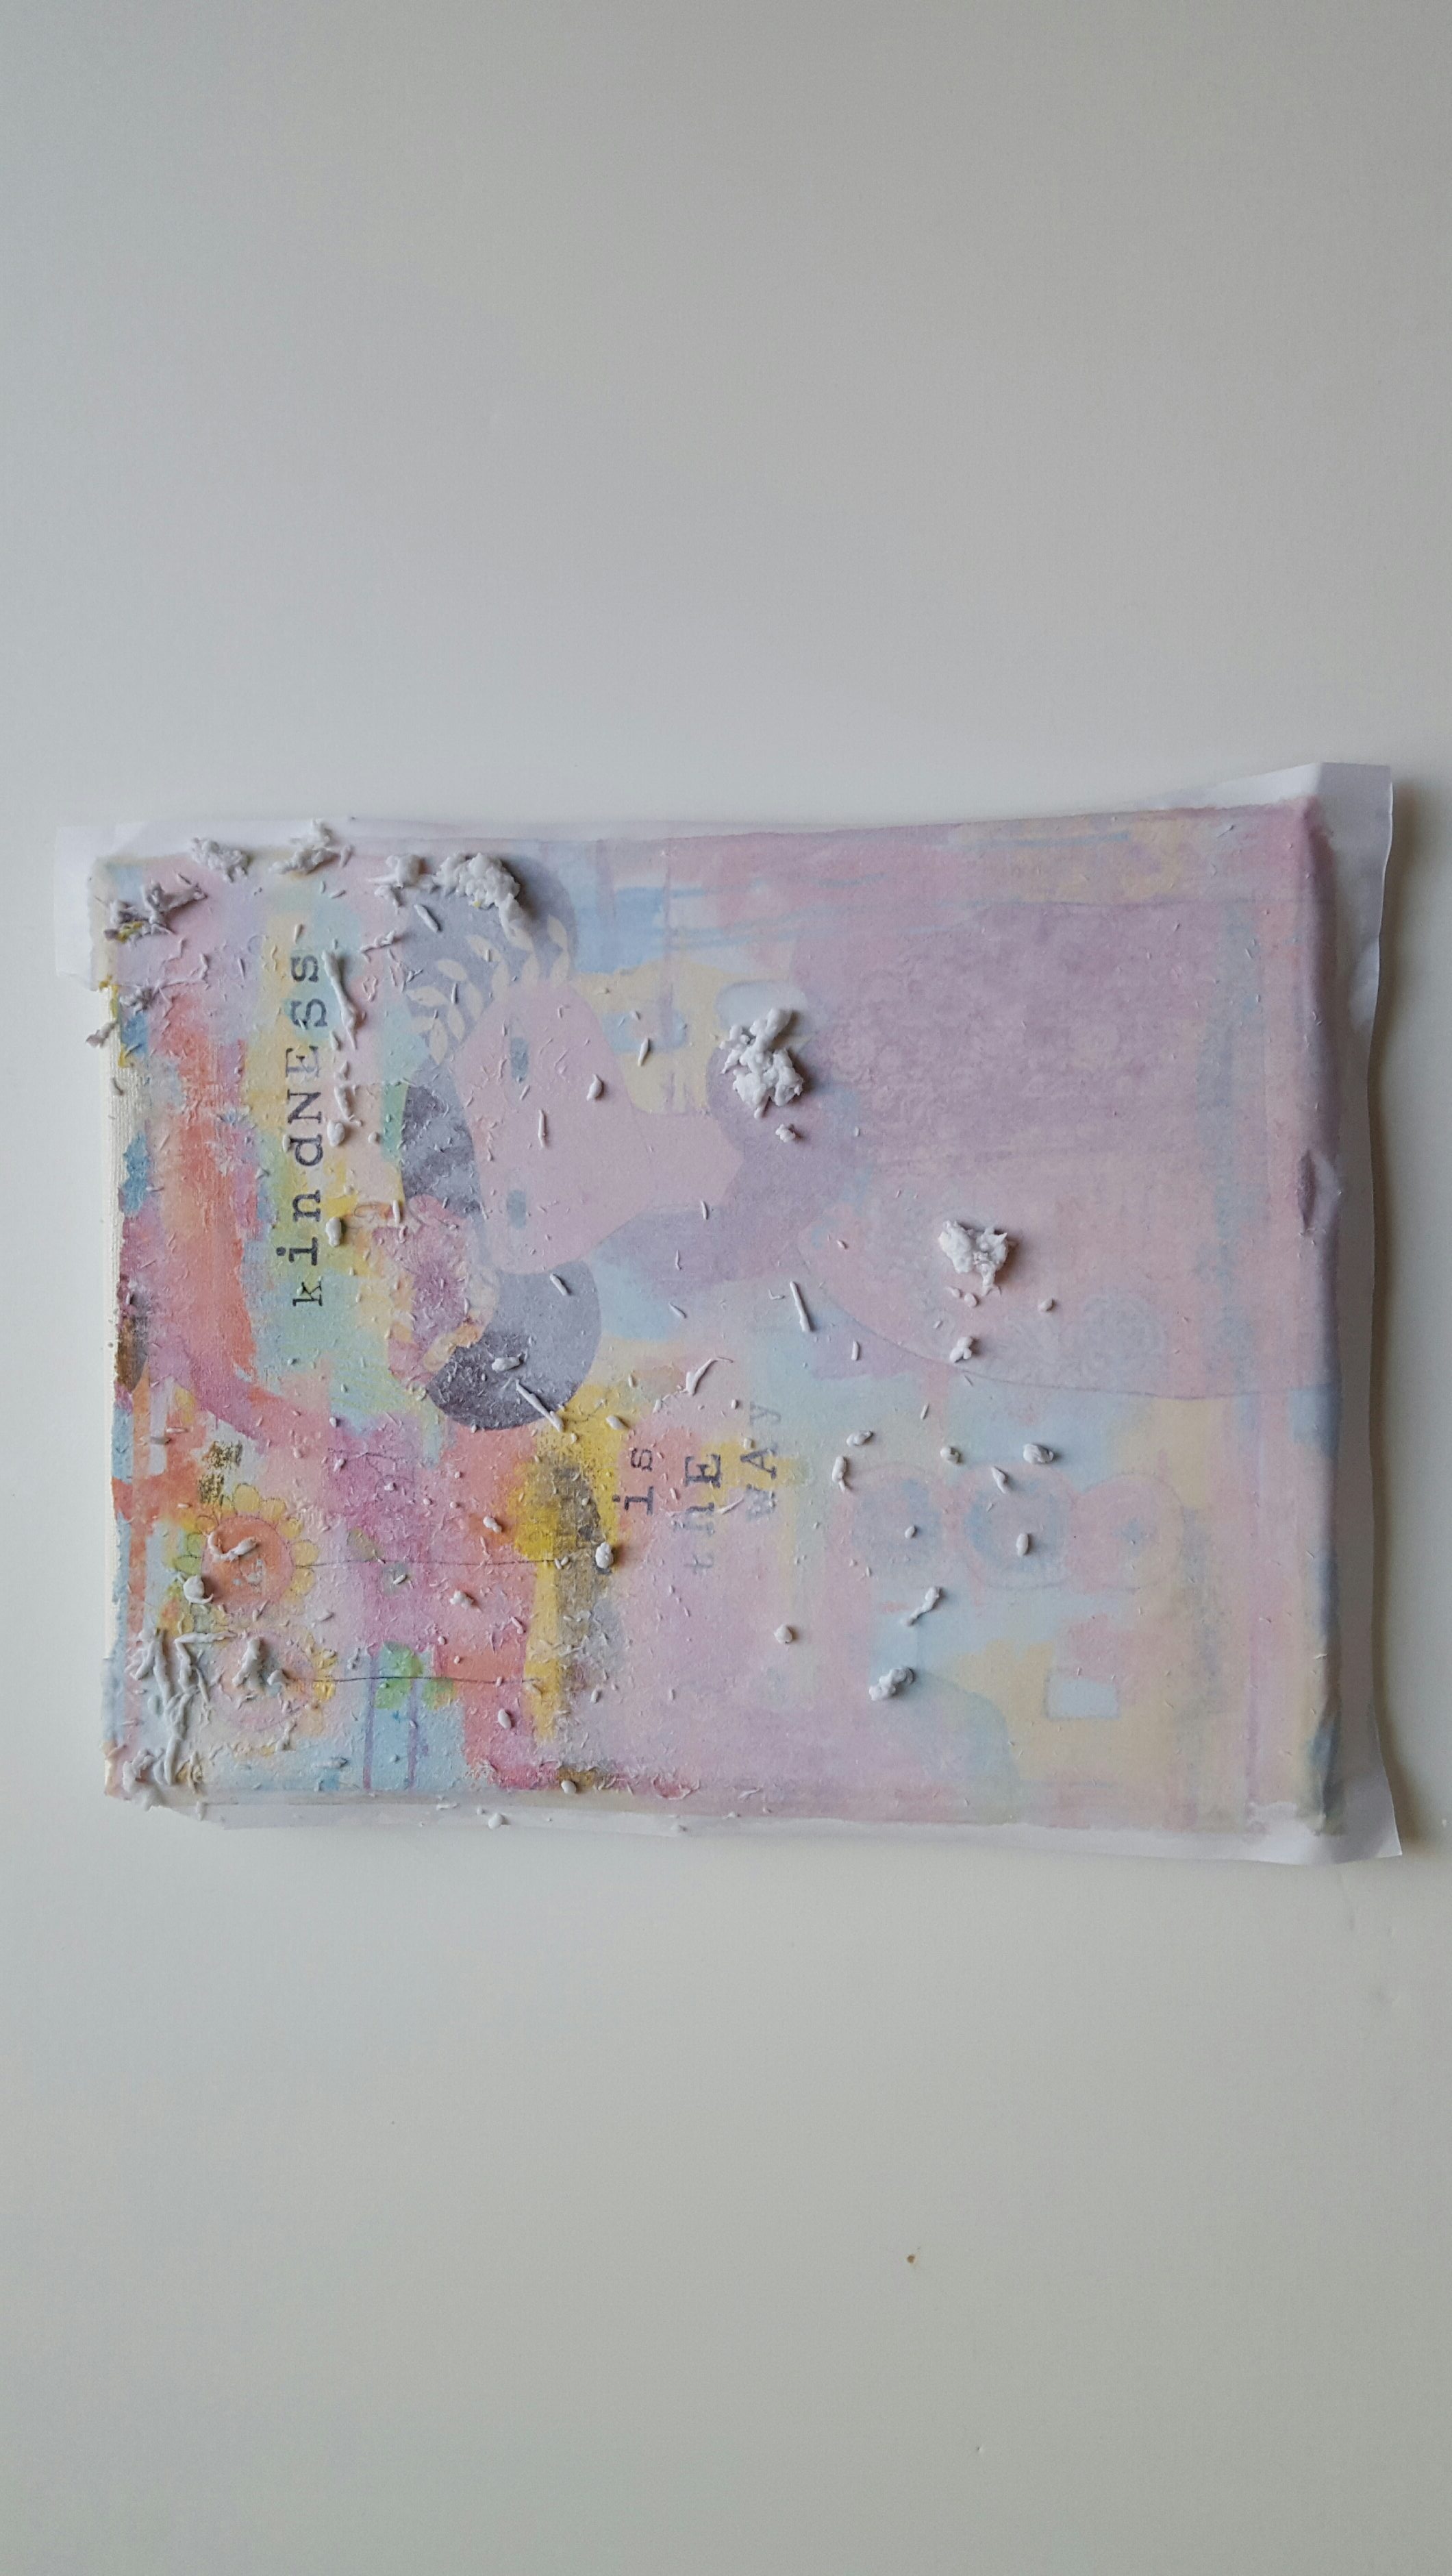
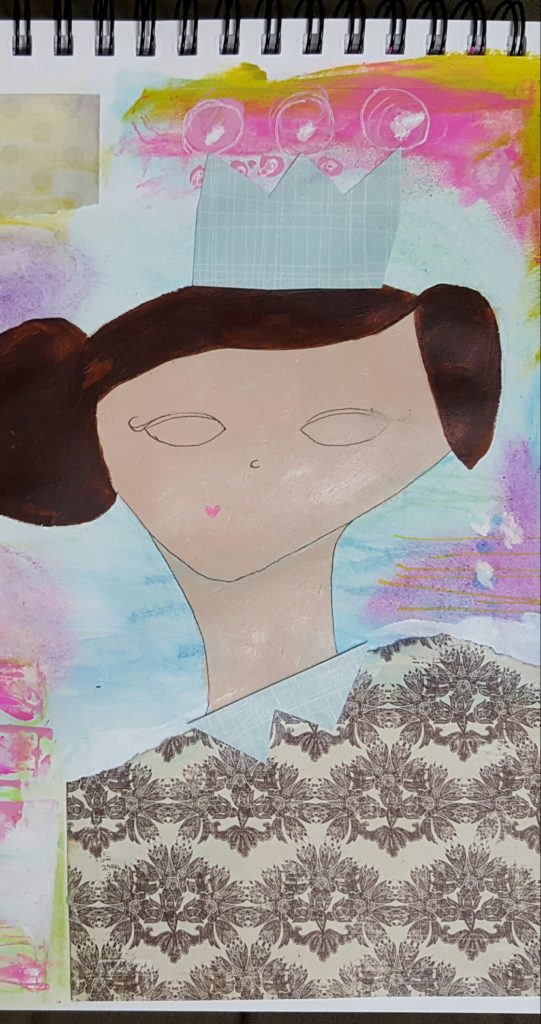
Next I wanted to create a spot for my girl. At this point of creating, I usually don’t know what the sentiment will be or what she will look like, I just put the bare bones down to create space for the next layer of creativity.

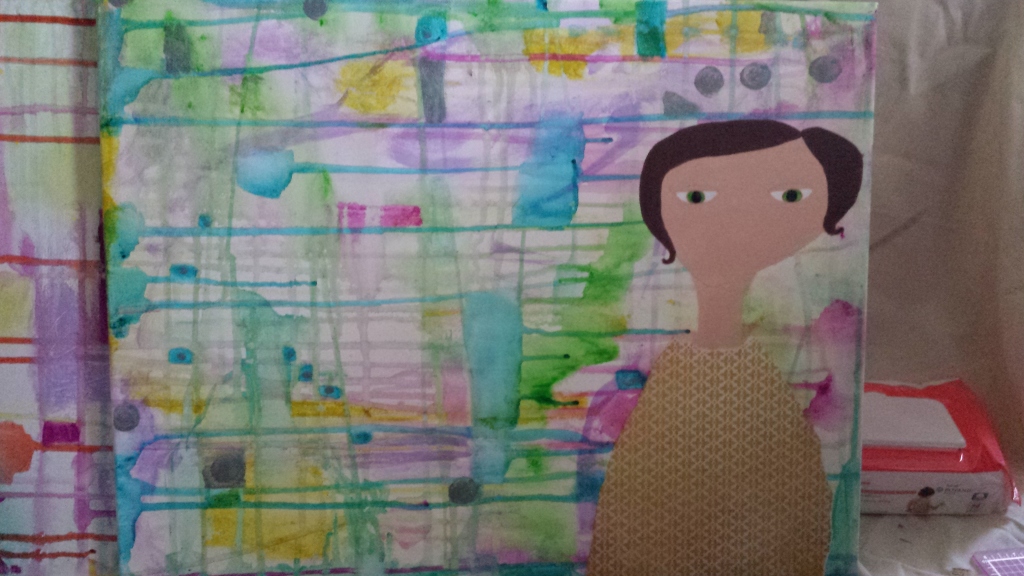
So I added the features, collaged in her dress and added some accents to her hair.

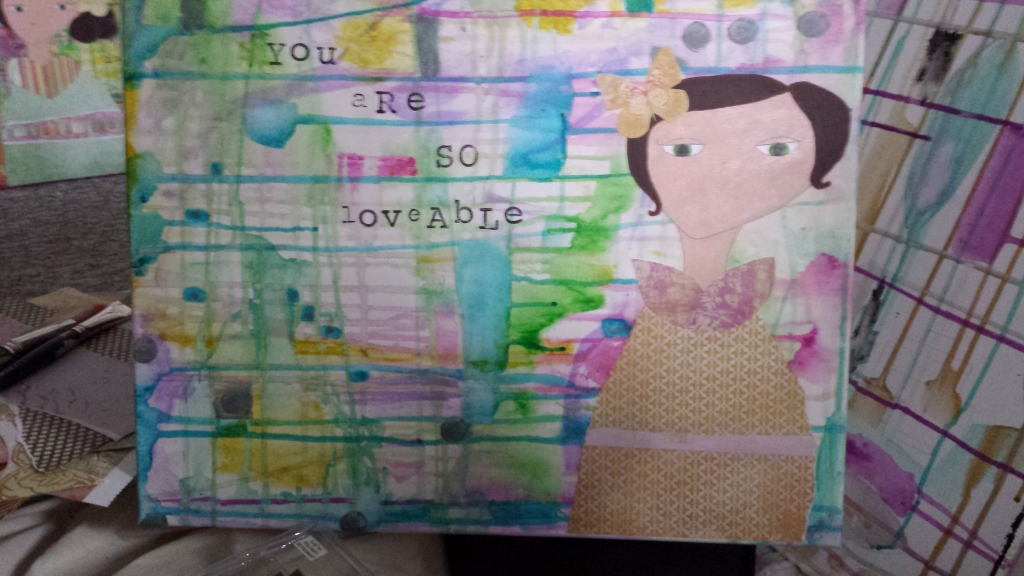
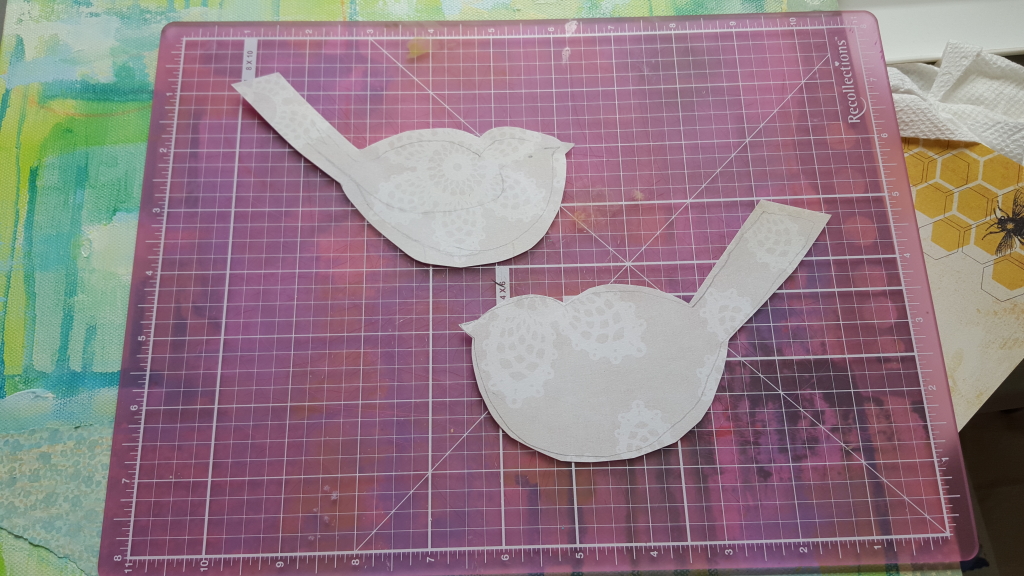
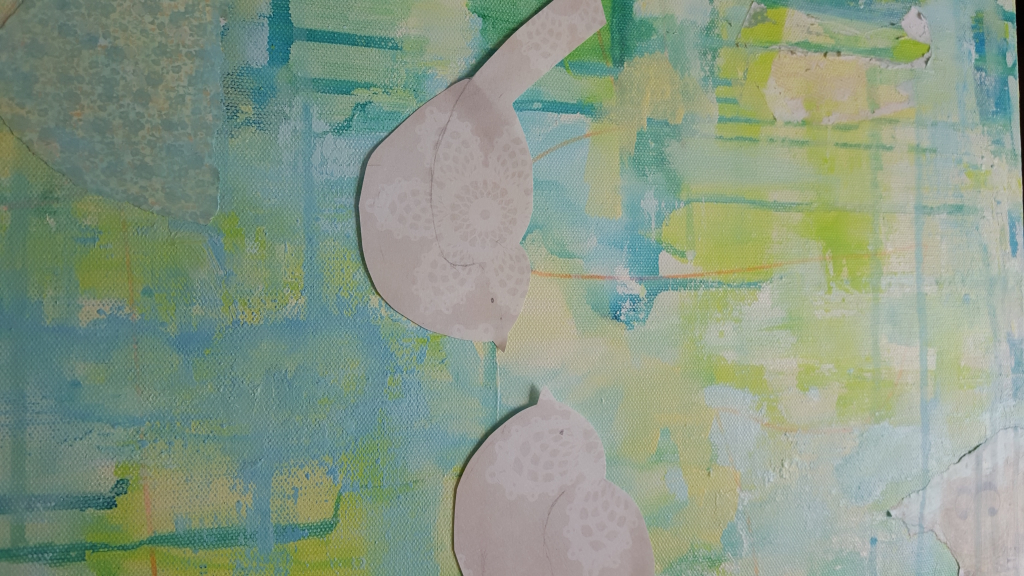
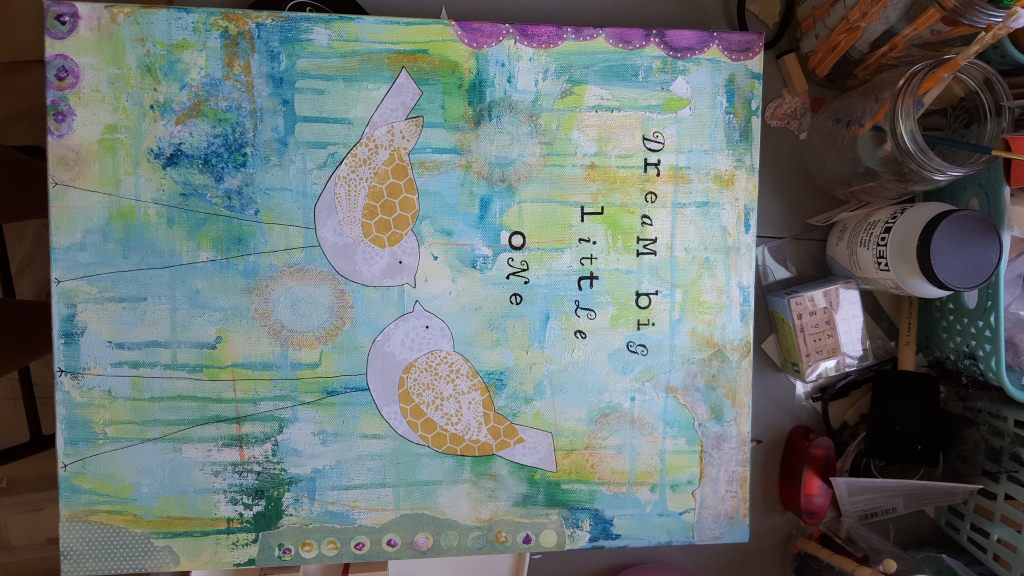
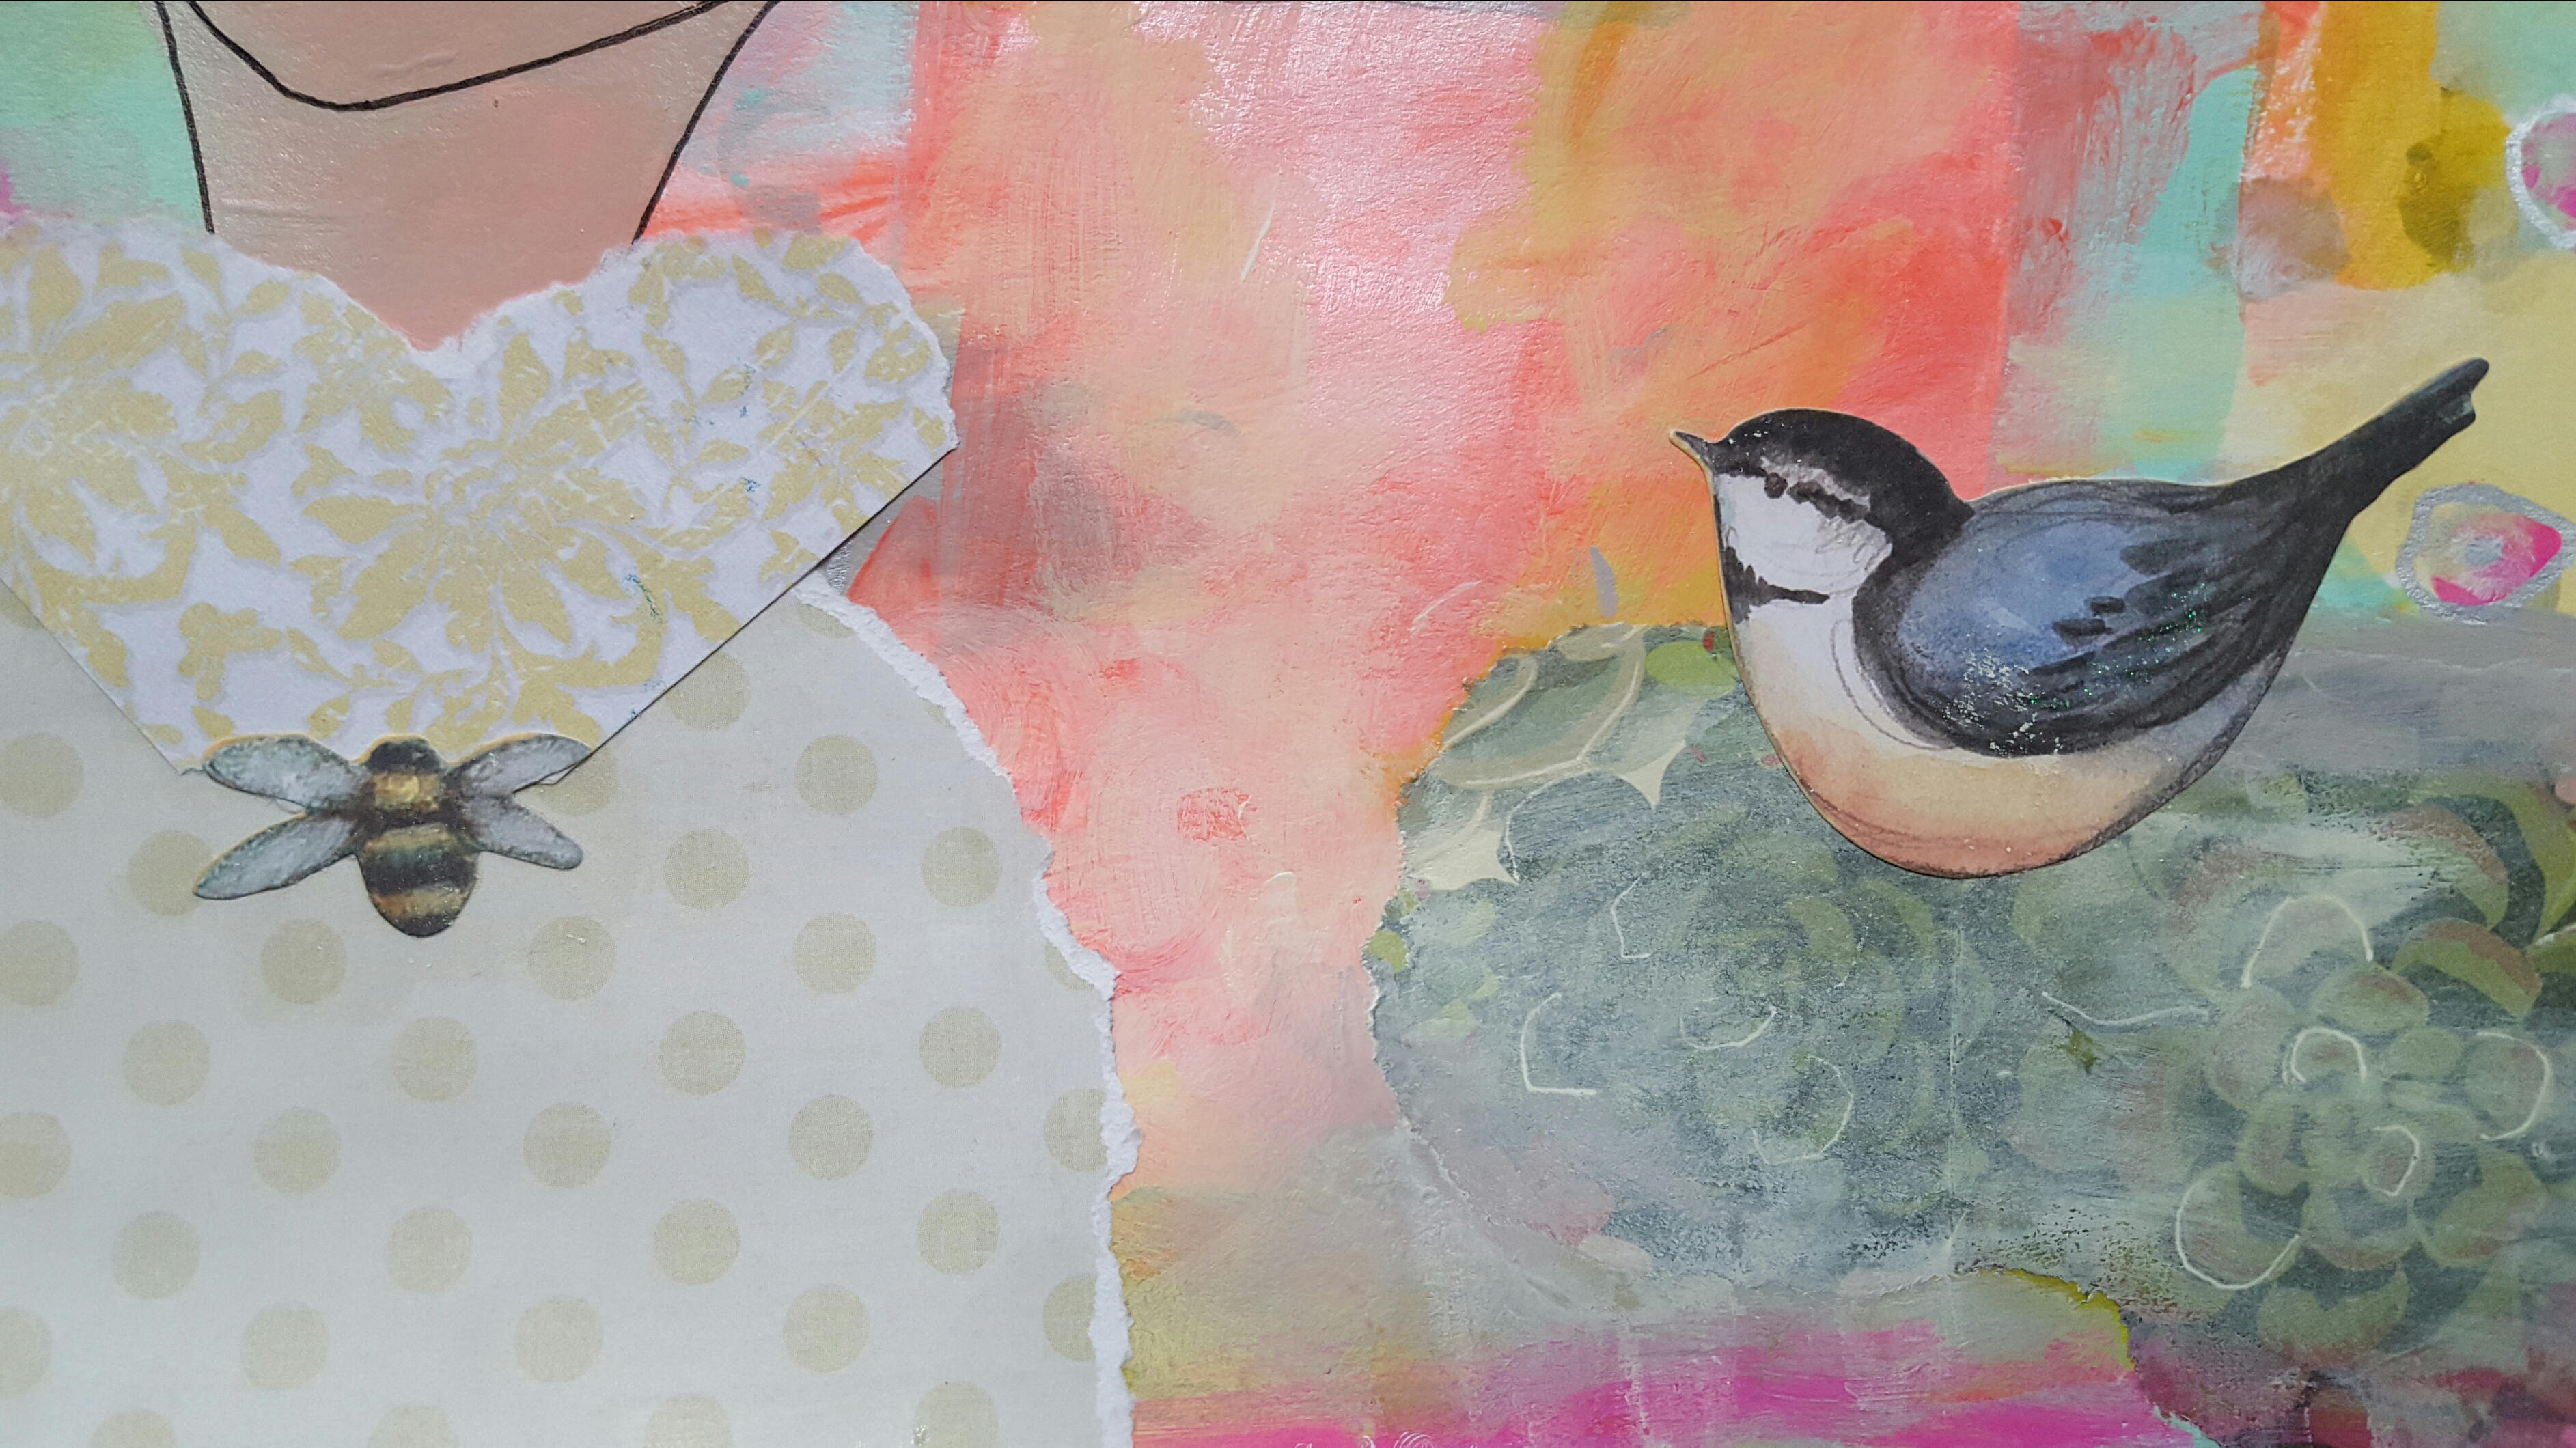
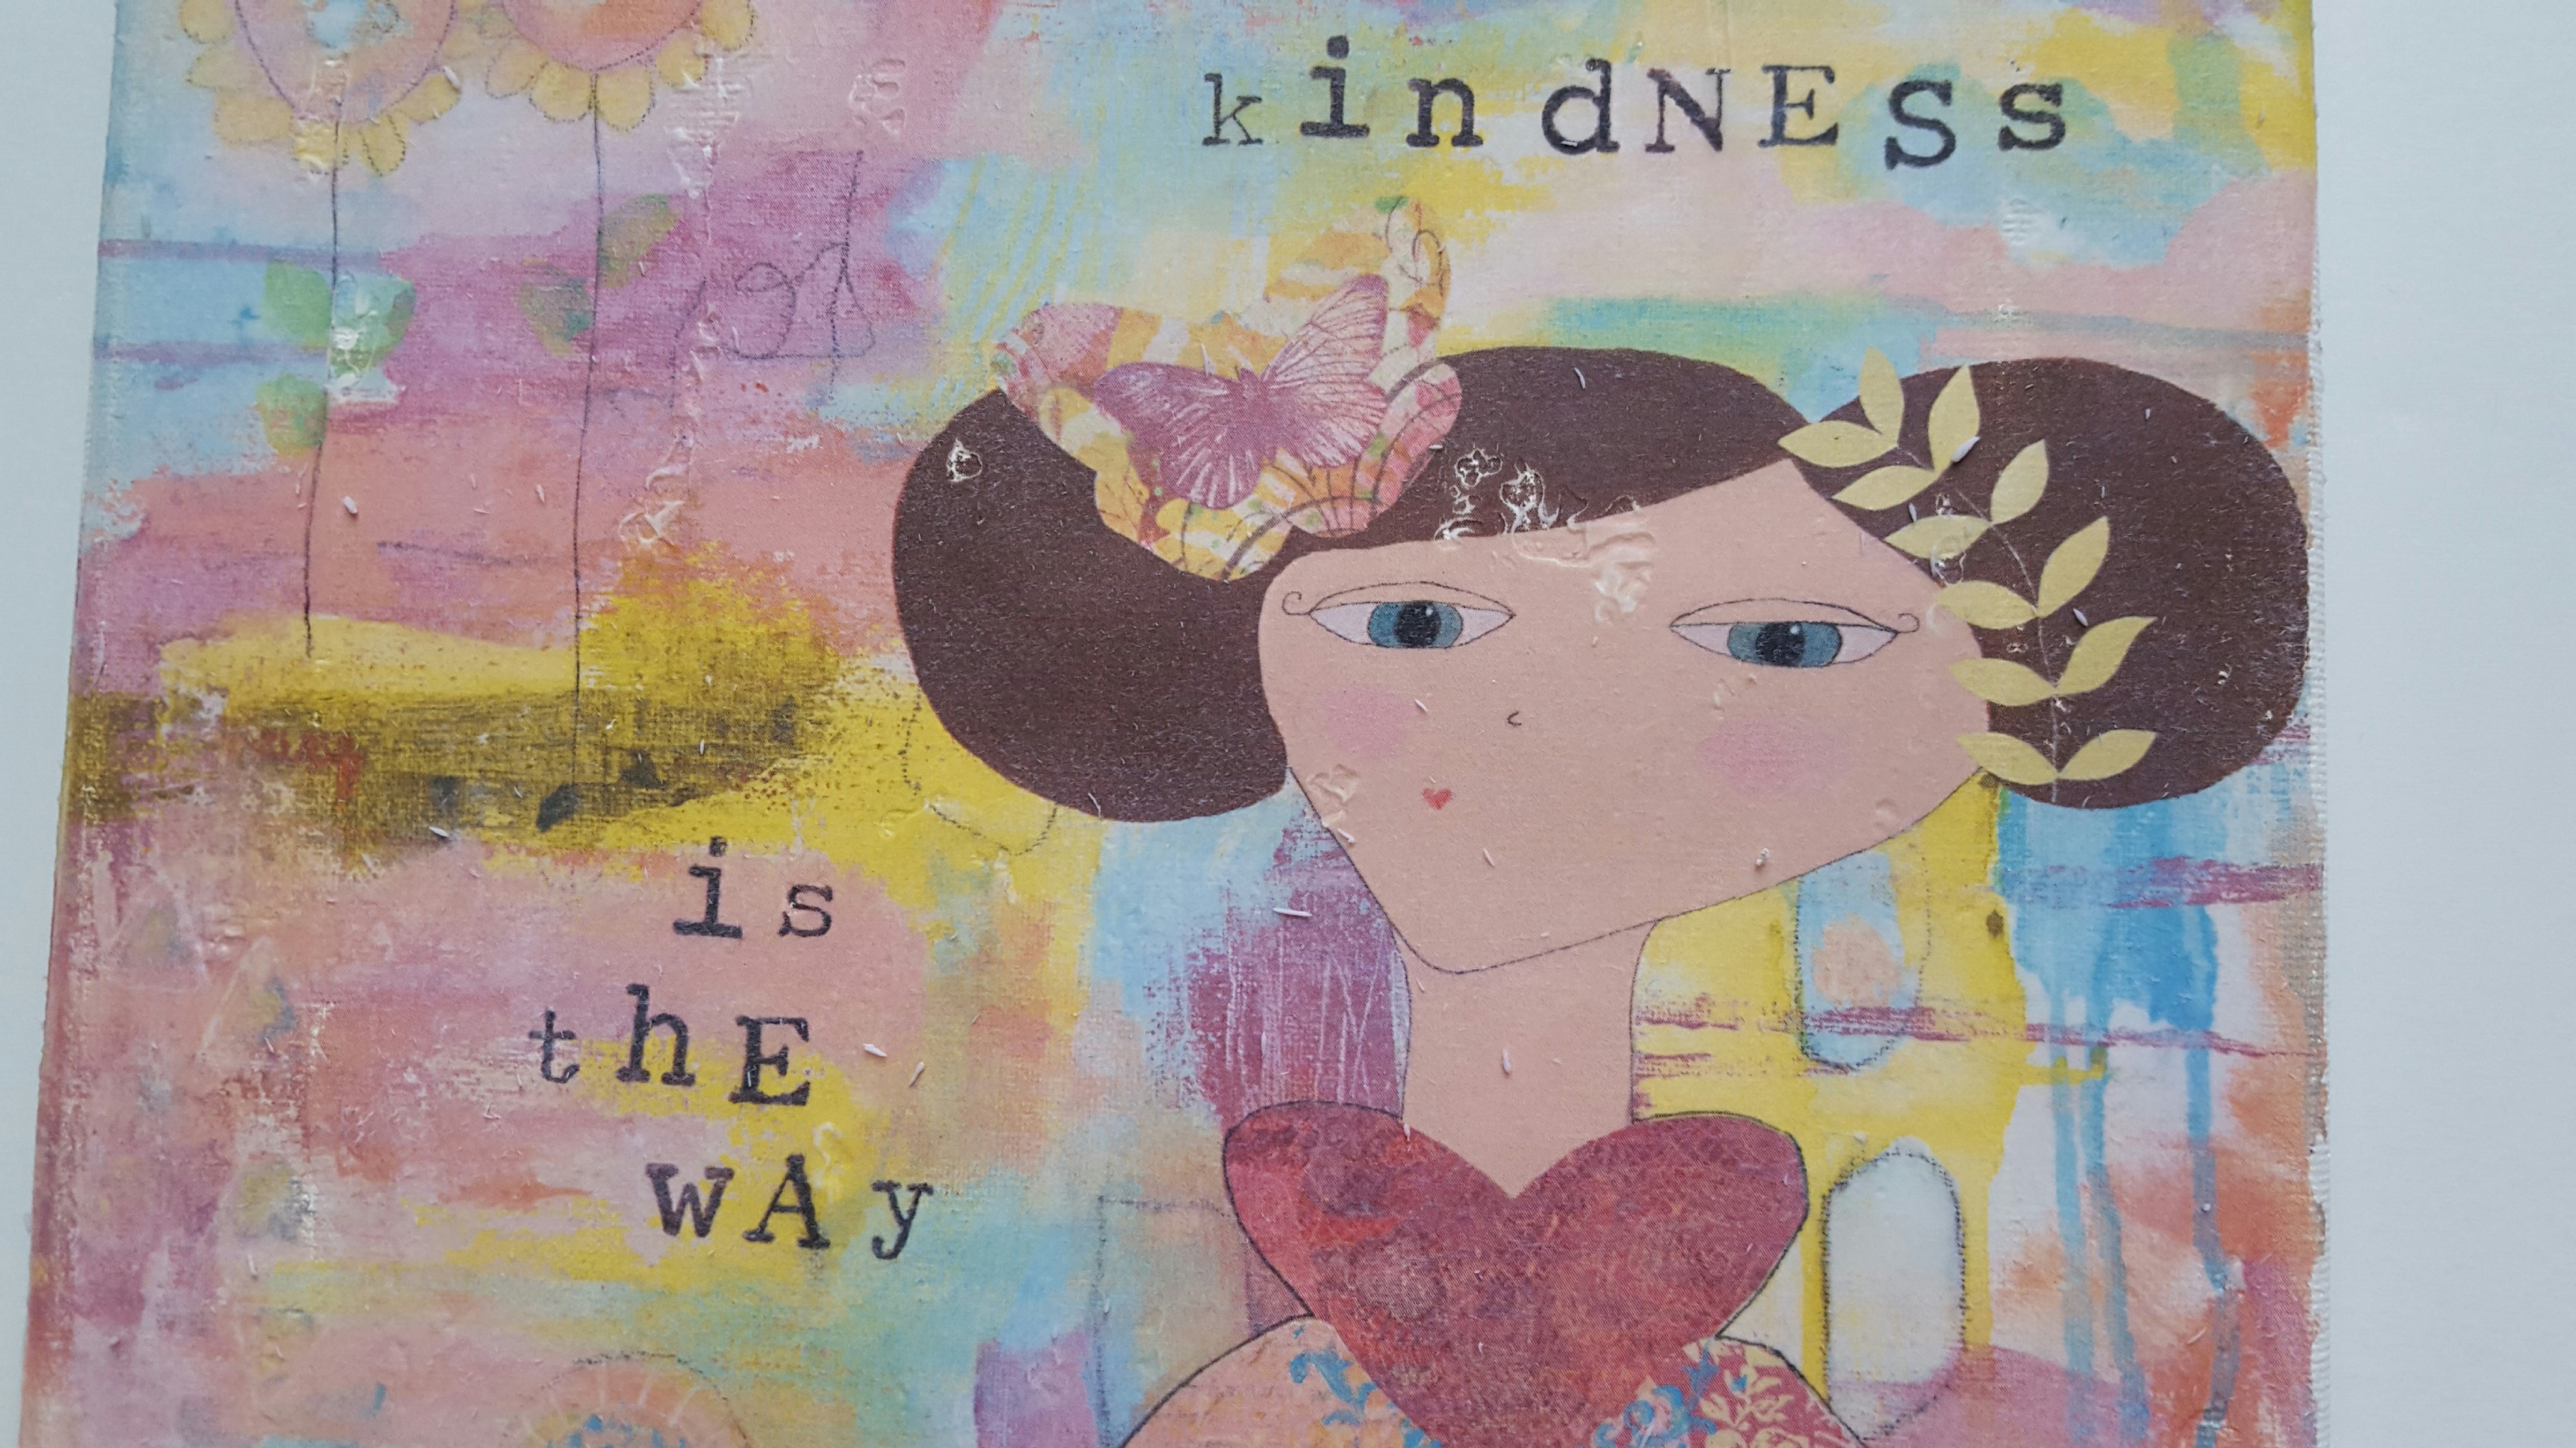
Then all of a sudden the collage piece in the corner made sense when I saw a little bird in my collection of collage papers. I love little birds. I even have a whole Pinterest board dedicated to bird art! So yes, the bird made sense to nest there in the corner.
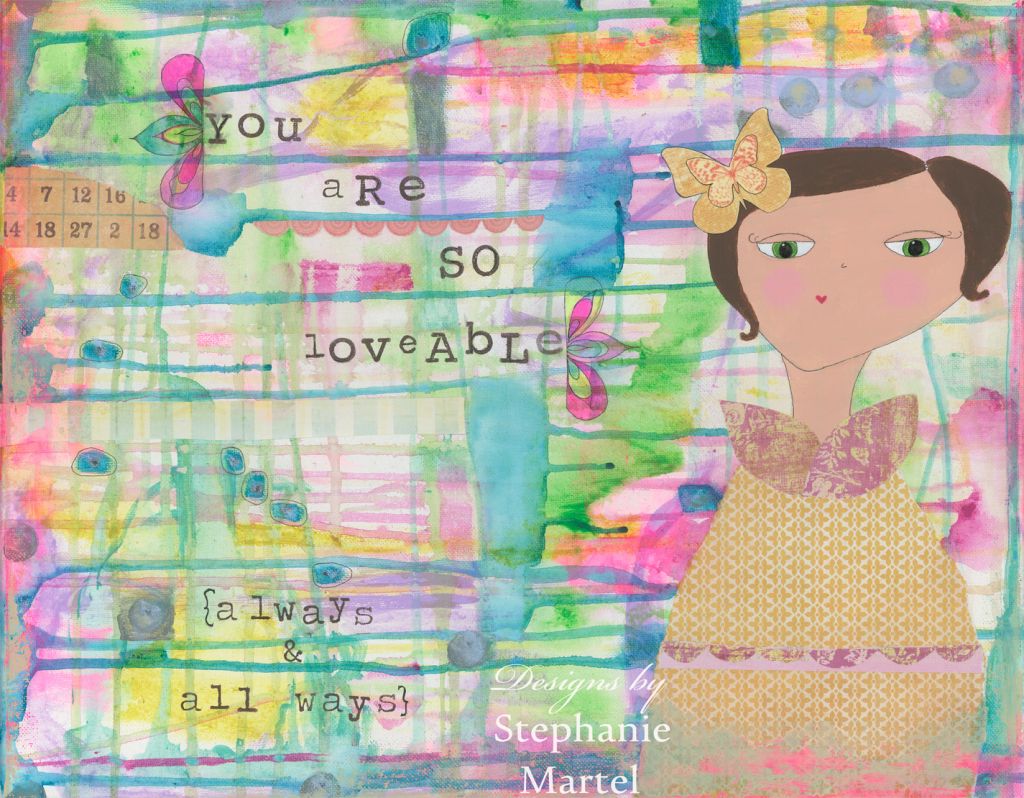
And then the sentiment came to me. It had a lot to do with the bird bringing me joy 🙂
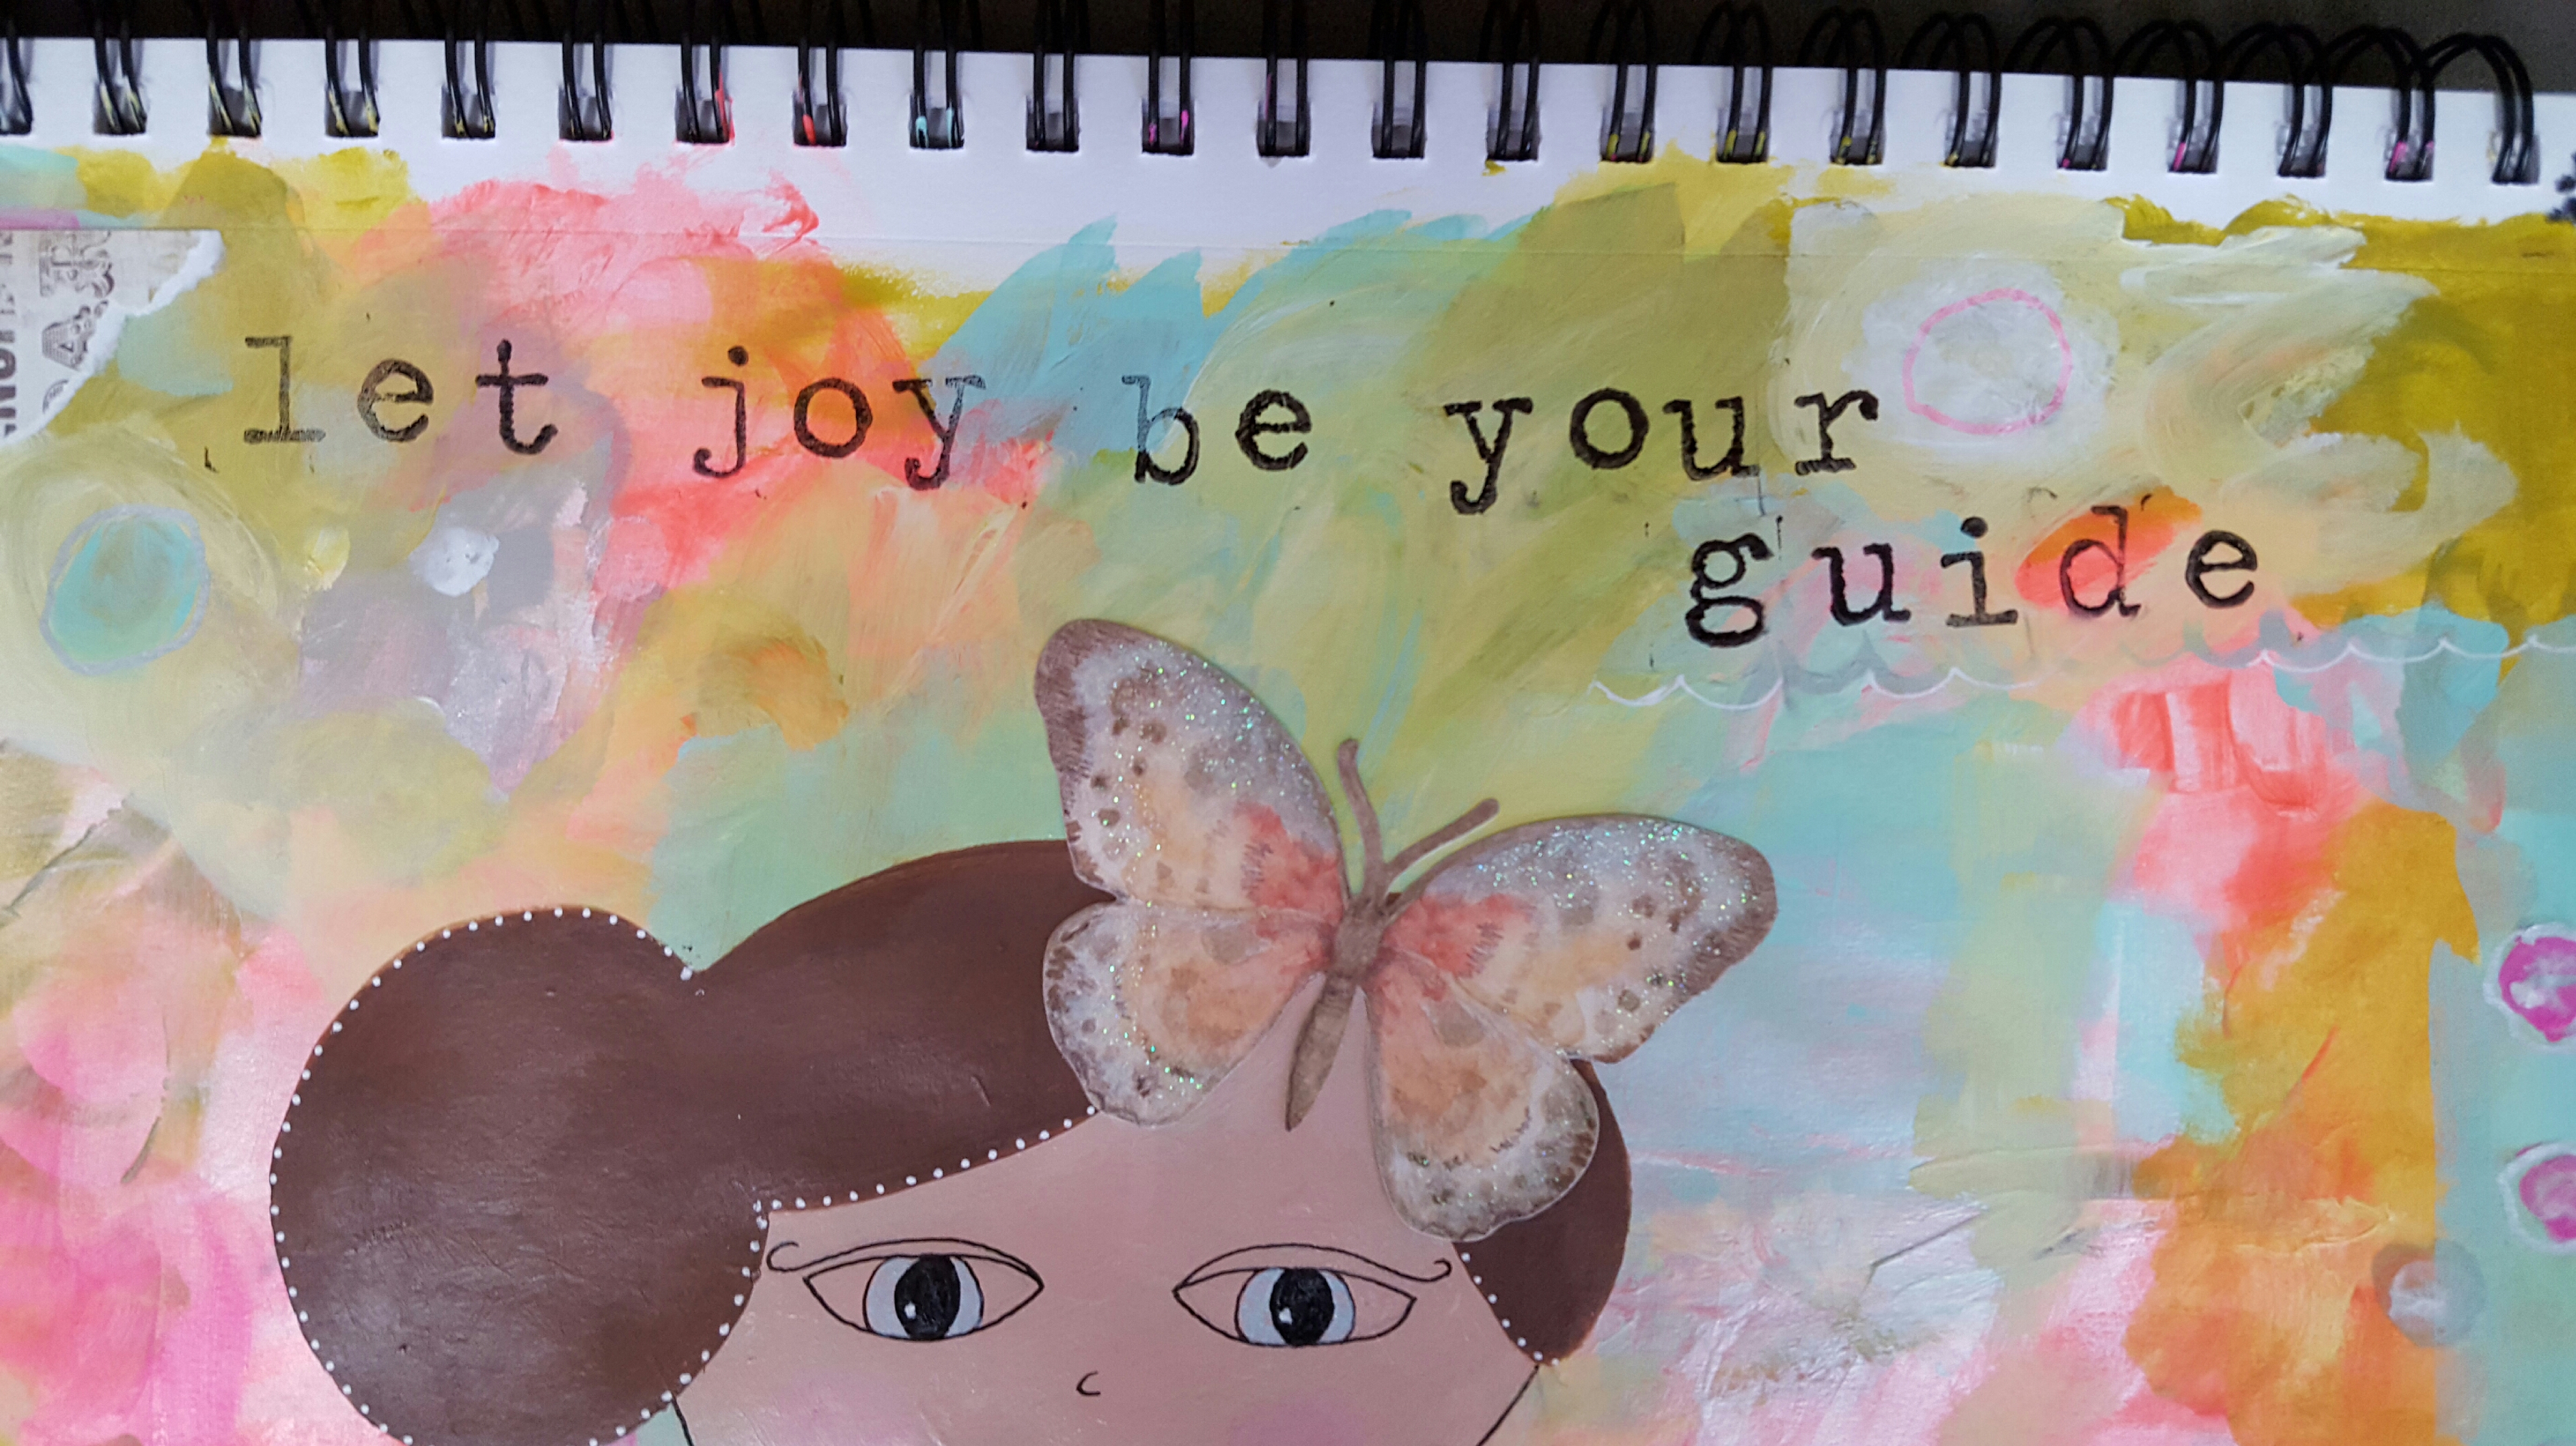
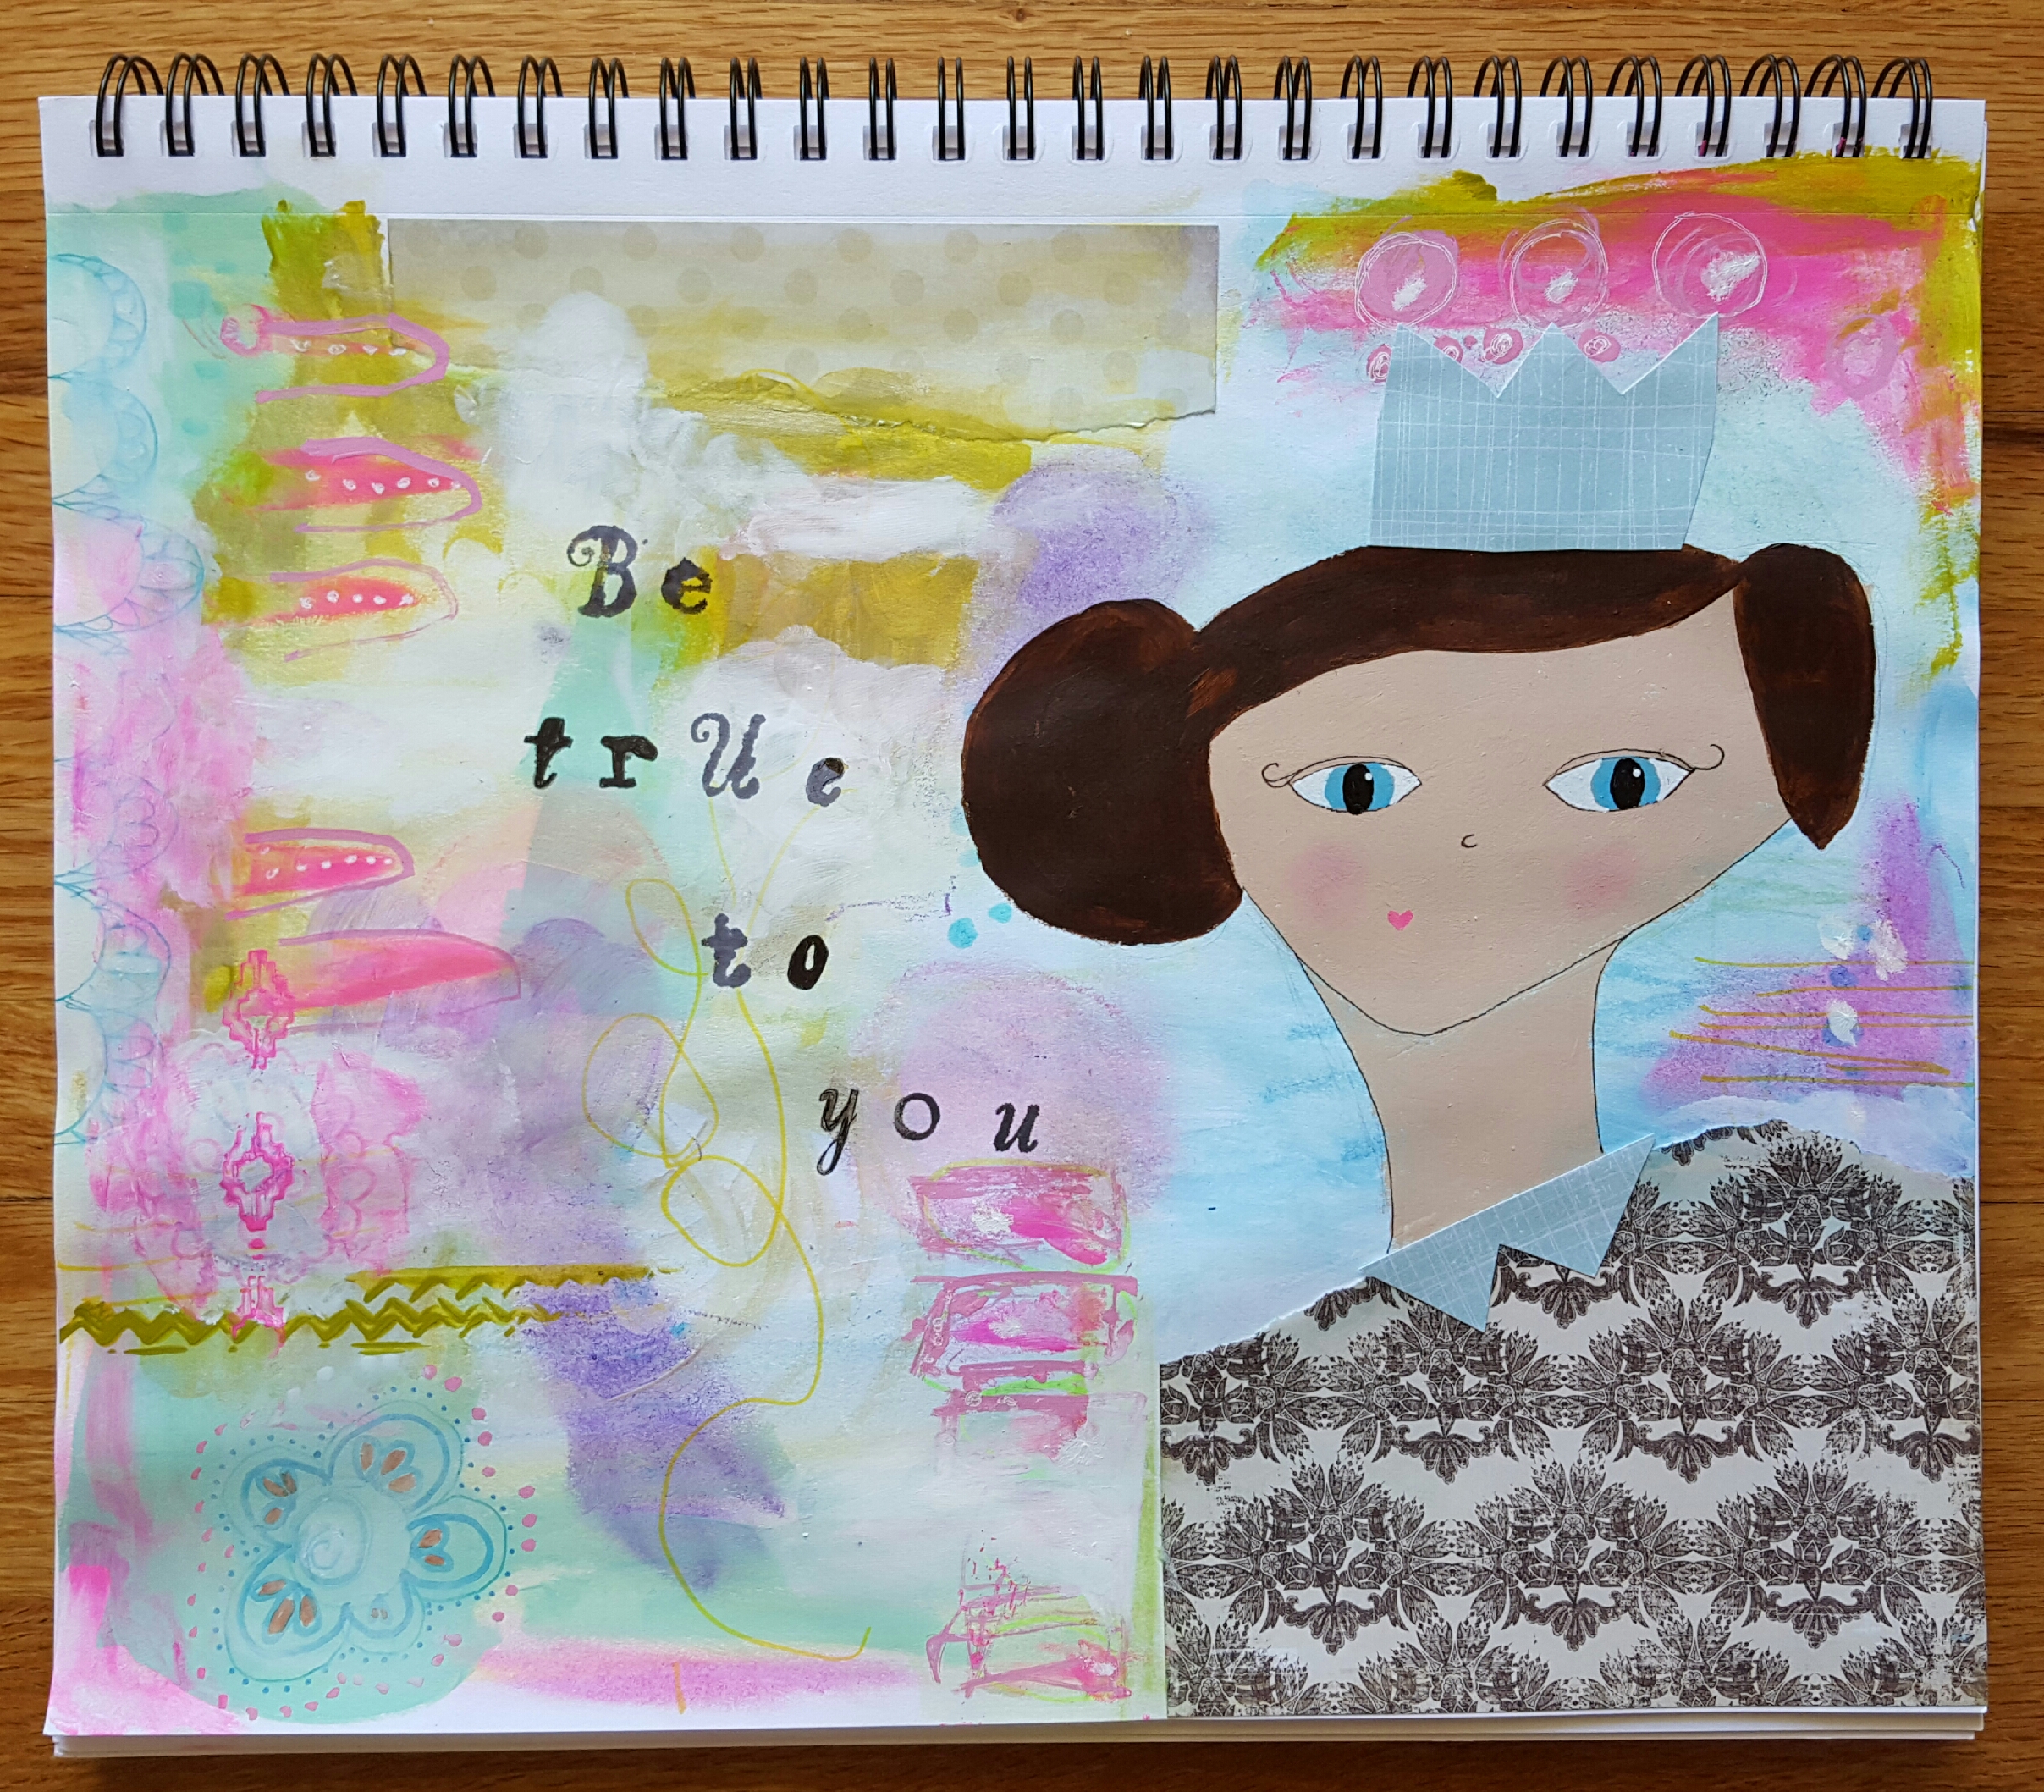
And then here’s the finished piece.
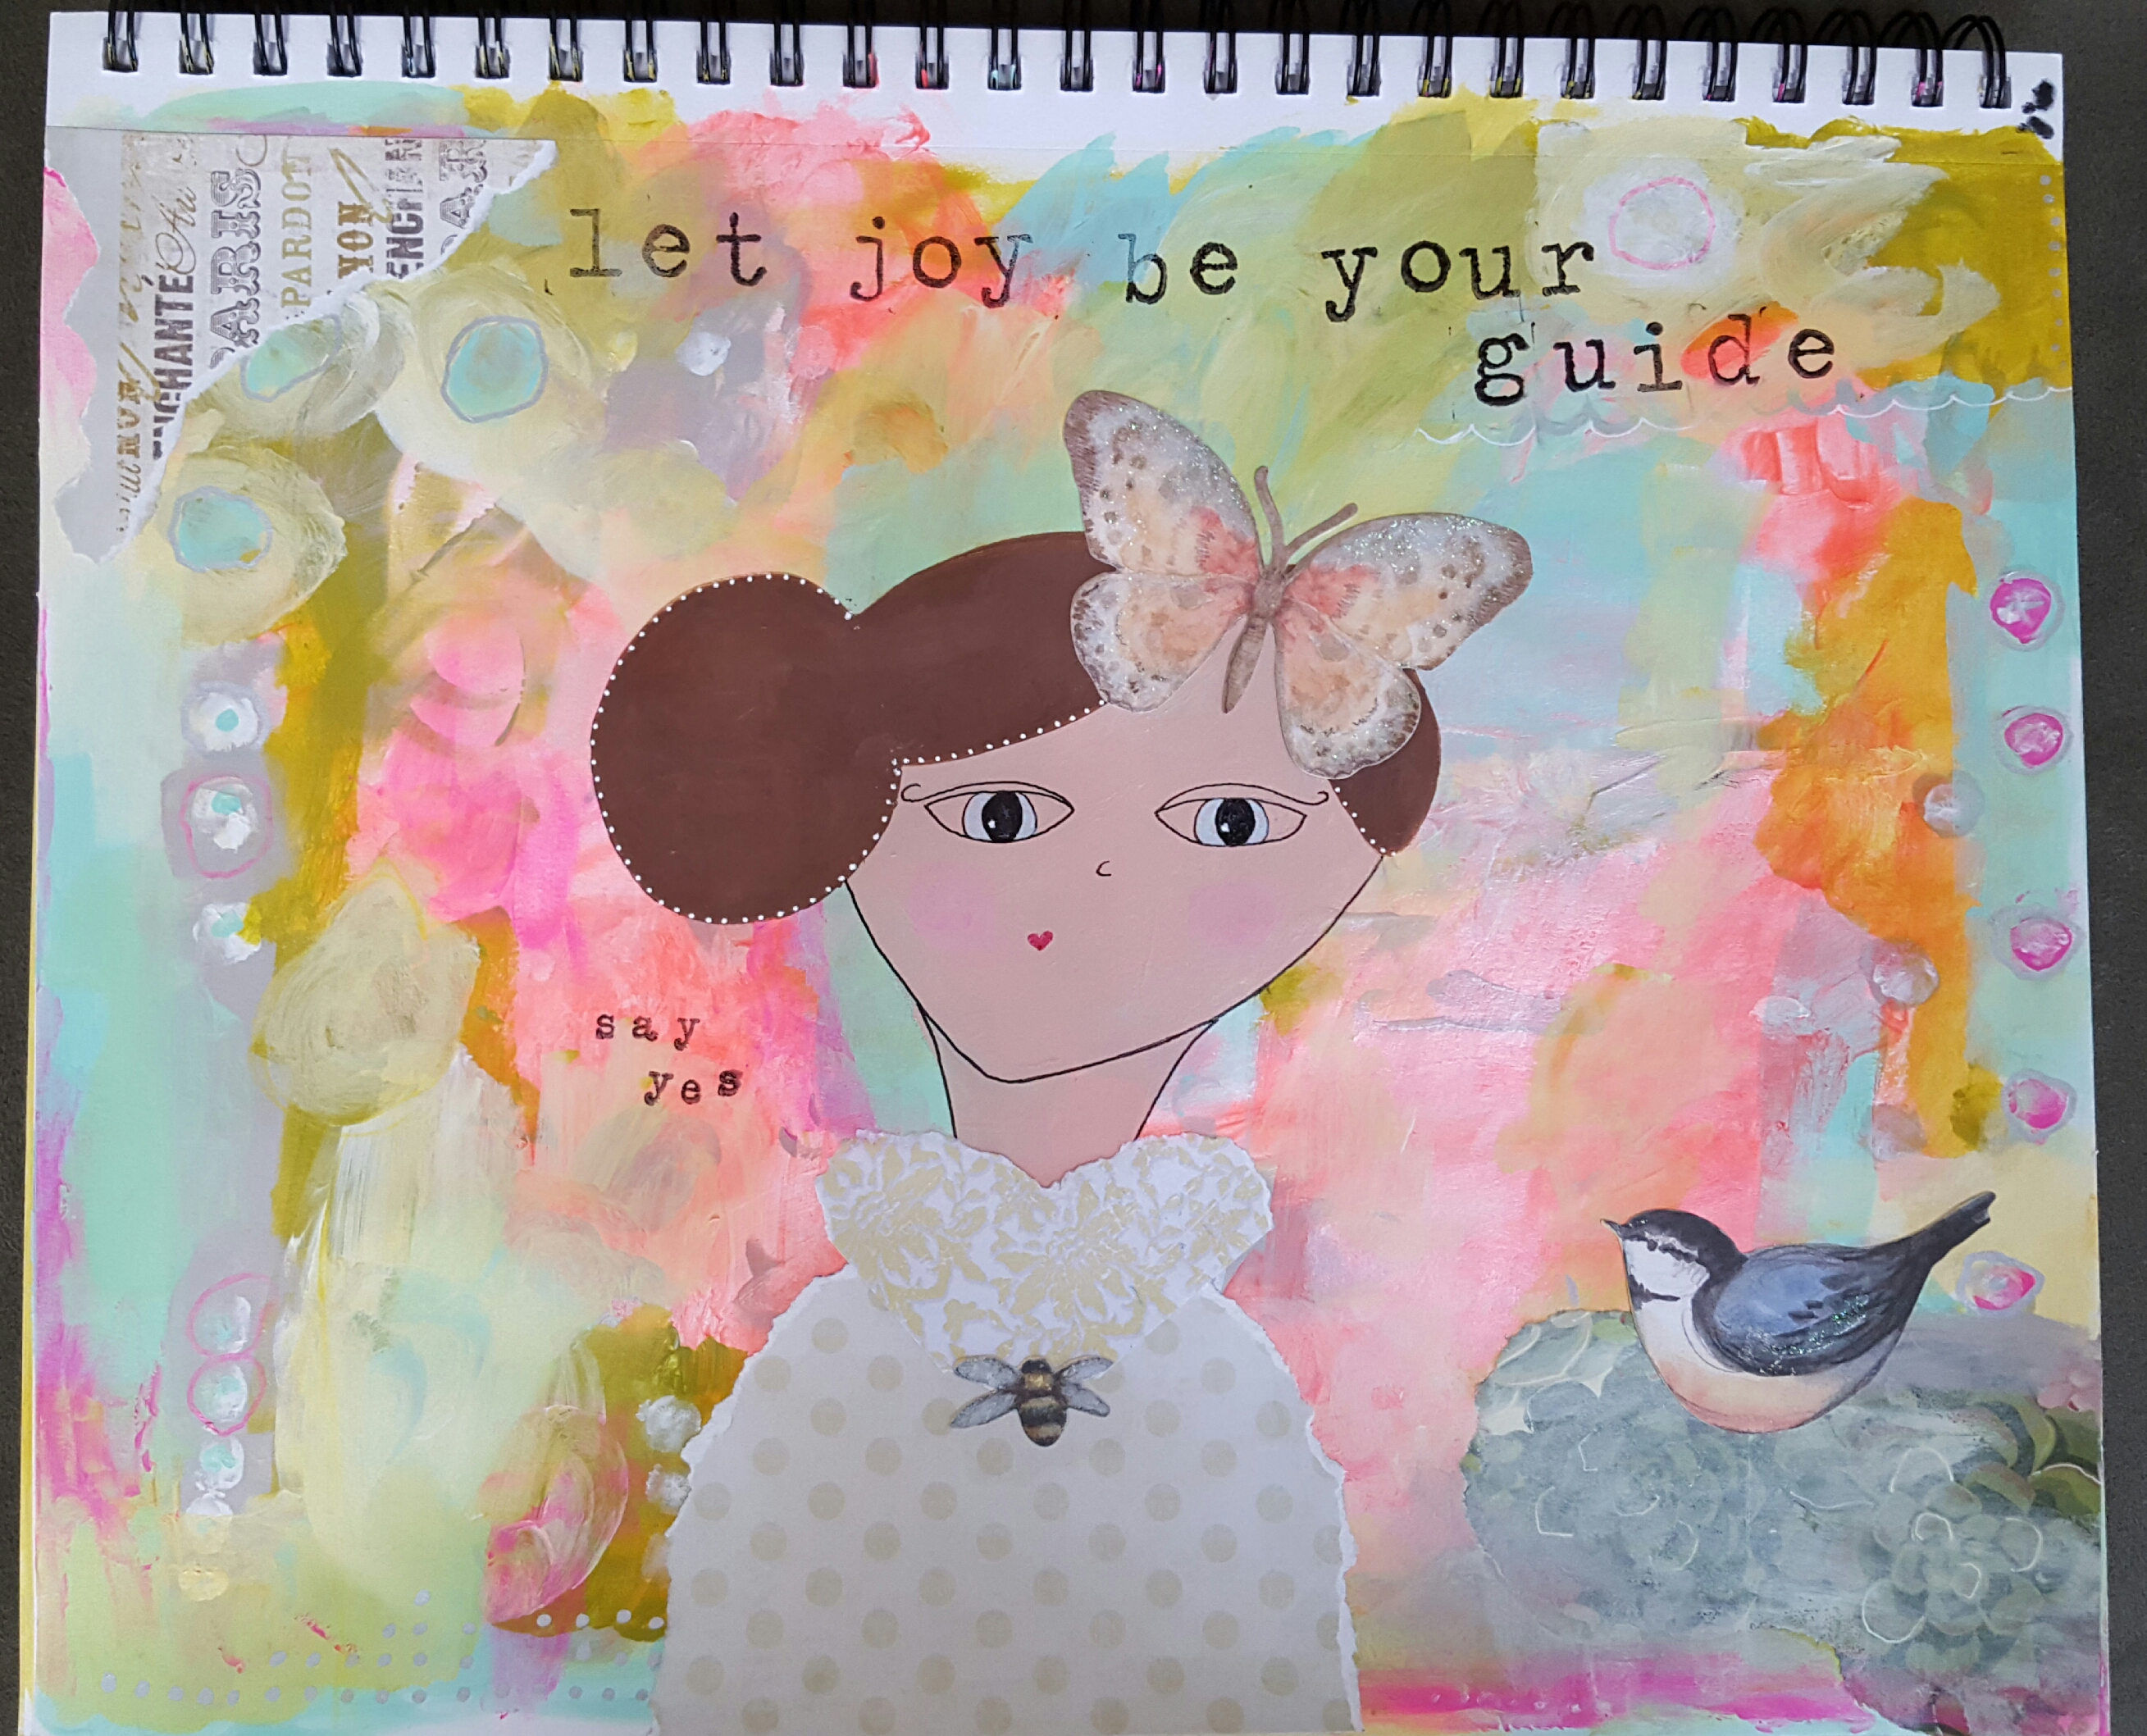
This is in my sketchbook which I’m getting used to working in and slowly starting to LOVE. It’s a lot more portable and forgiving. No worries about screwing up an entire canvas which is great because more experimenting = more learning. And I’m totally into that!
I hope you enjoyed this view into my process + If you do nothing else today…just let joy be your guide 🙂
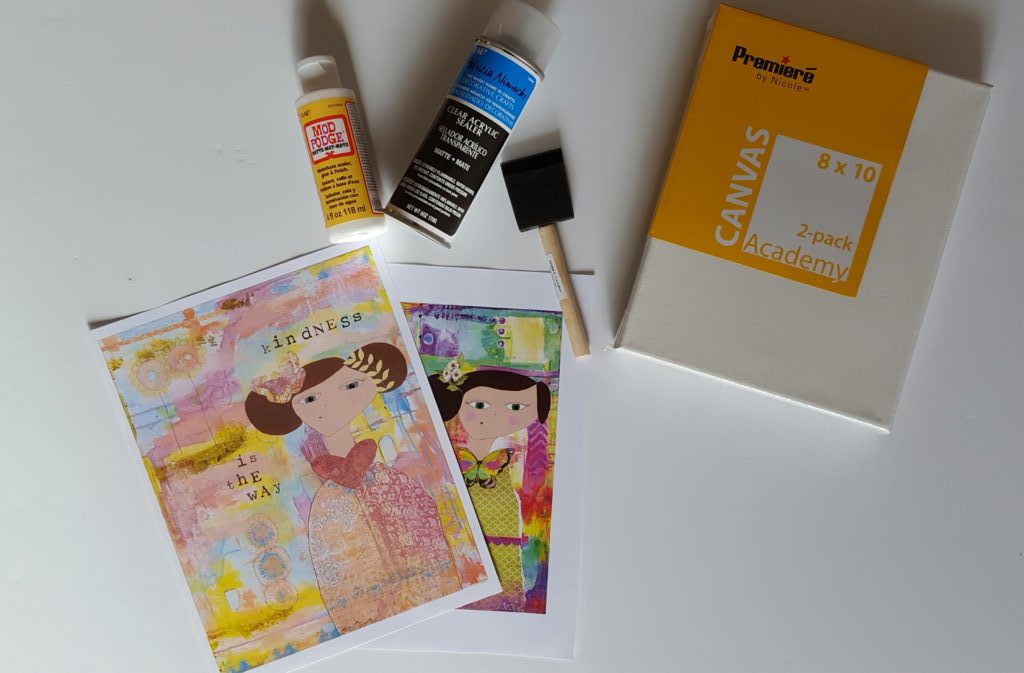
Some Supplies I used:
- Canson Sketchboook
- Sharpie silver pen
- Liquitex acrylic paint, burnt umber
- Letter stamps
- Black Stazon Ink
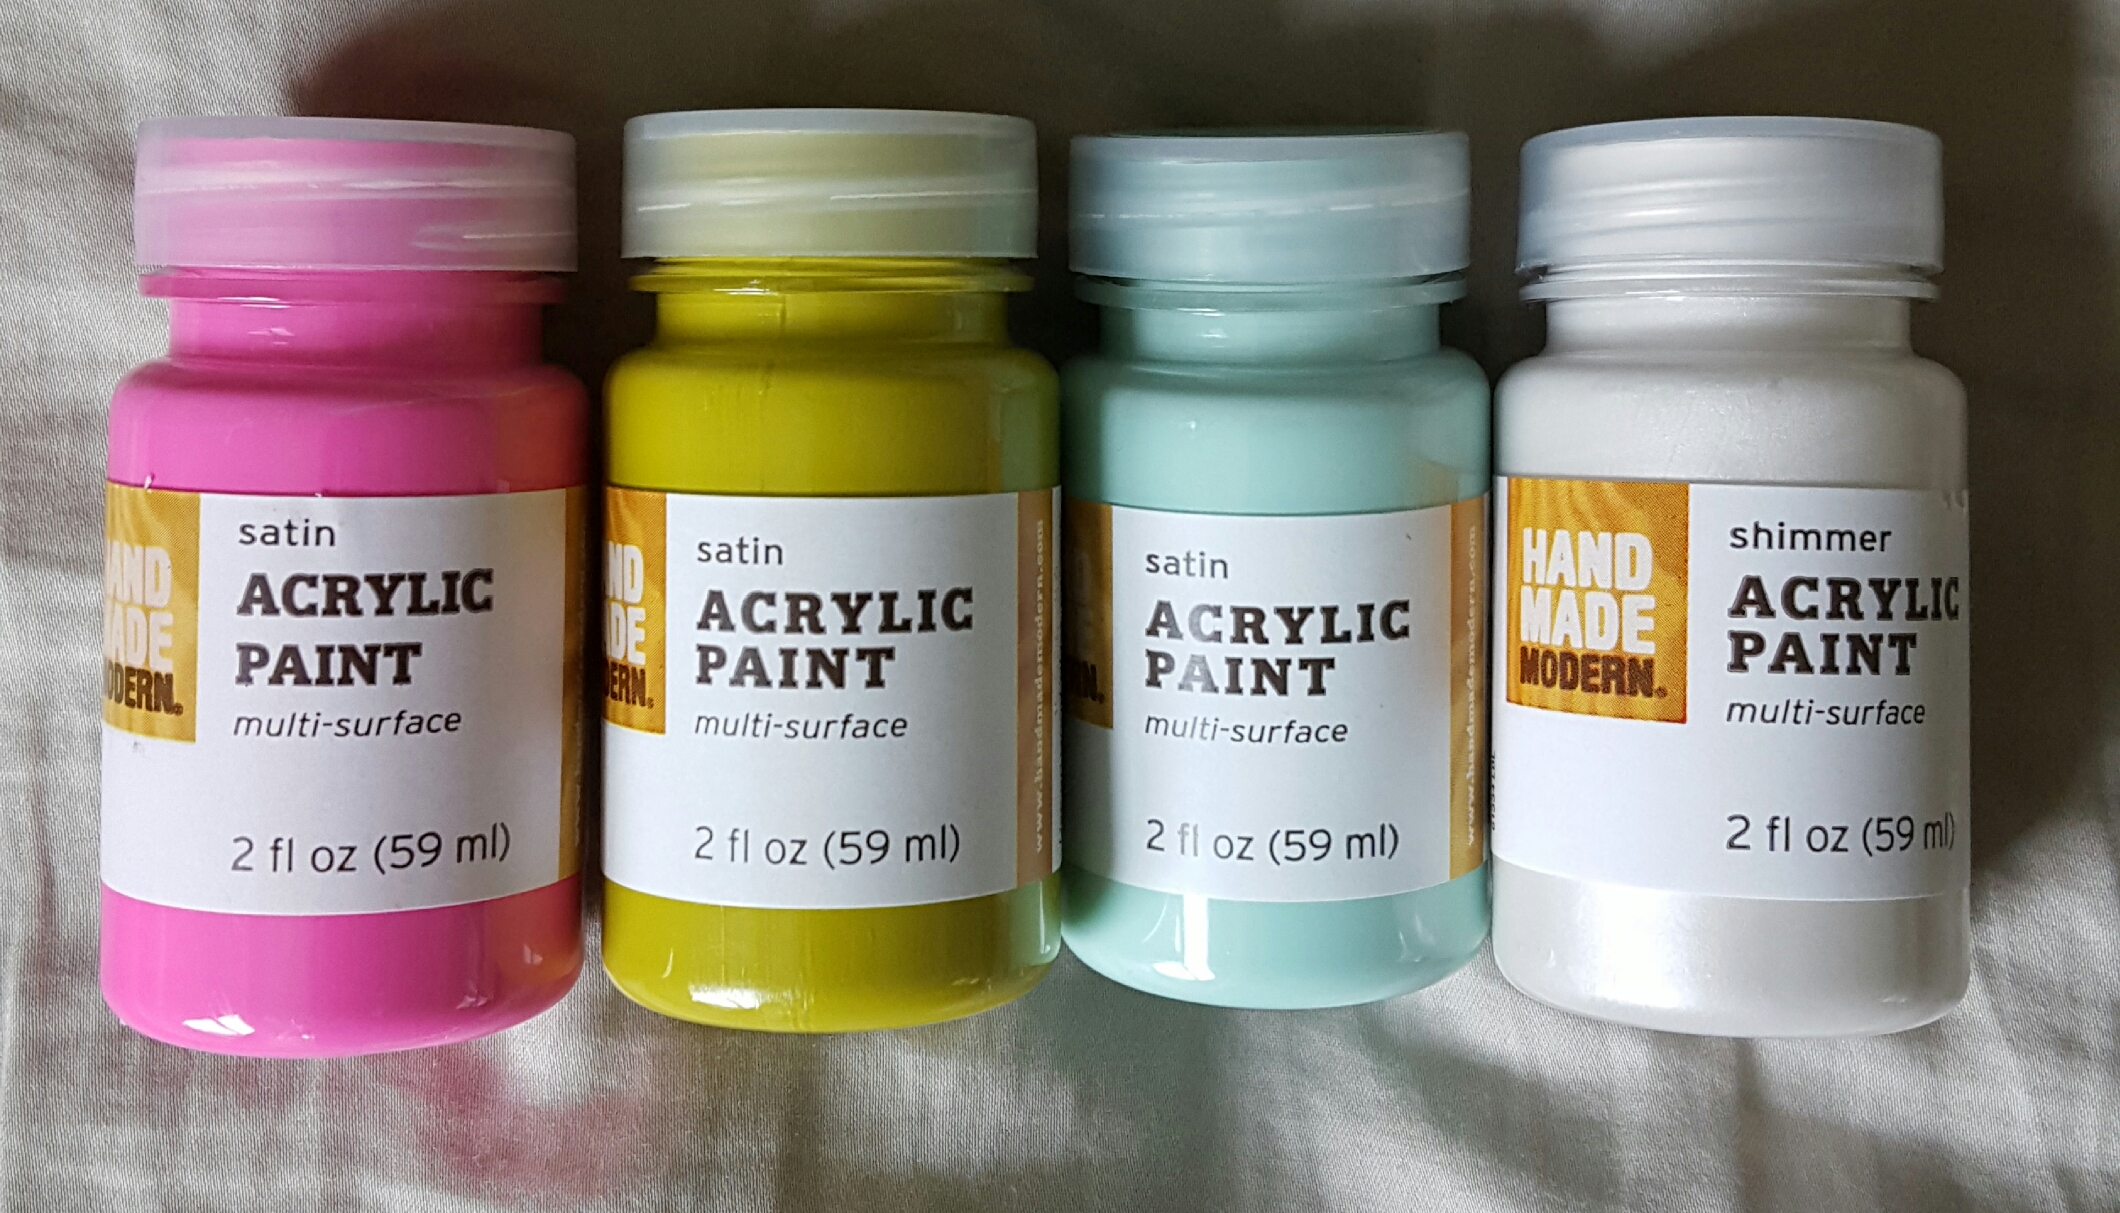
- Handmade modern acrylic paints (softer colors)
- Collage Papers


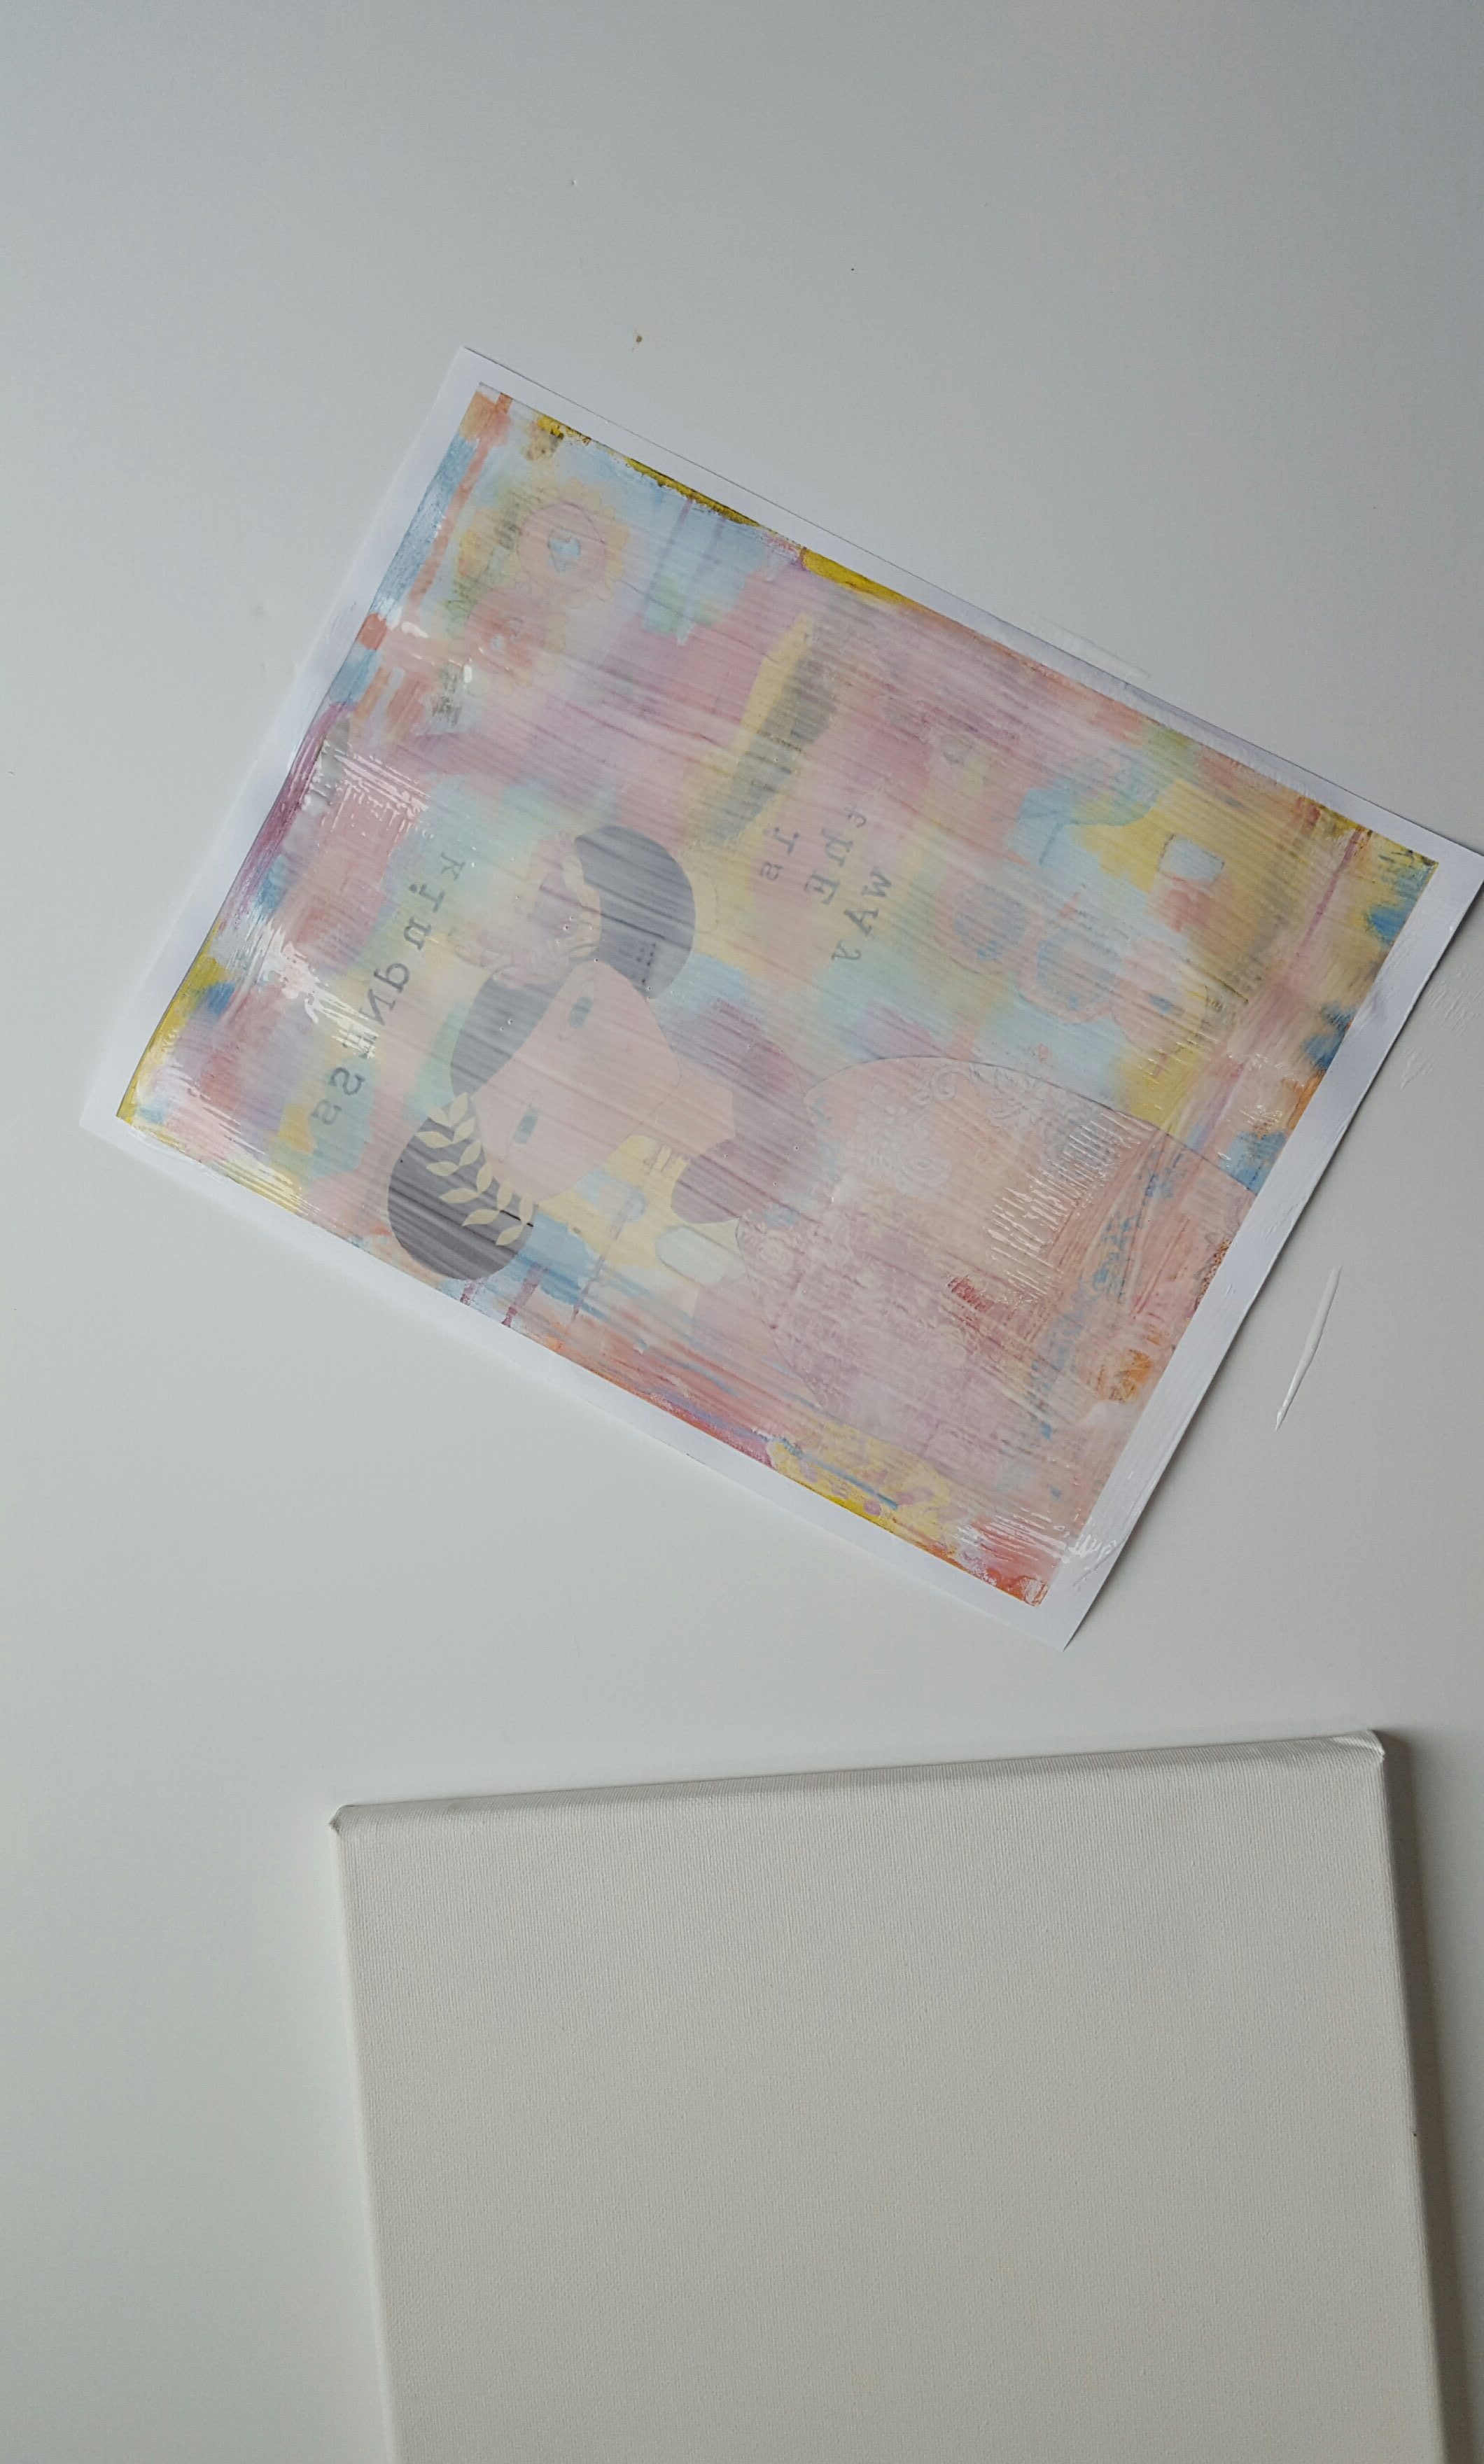


 I wanted to change what I painted on and try a new format–using a pad of
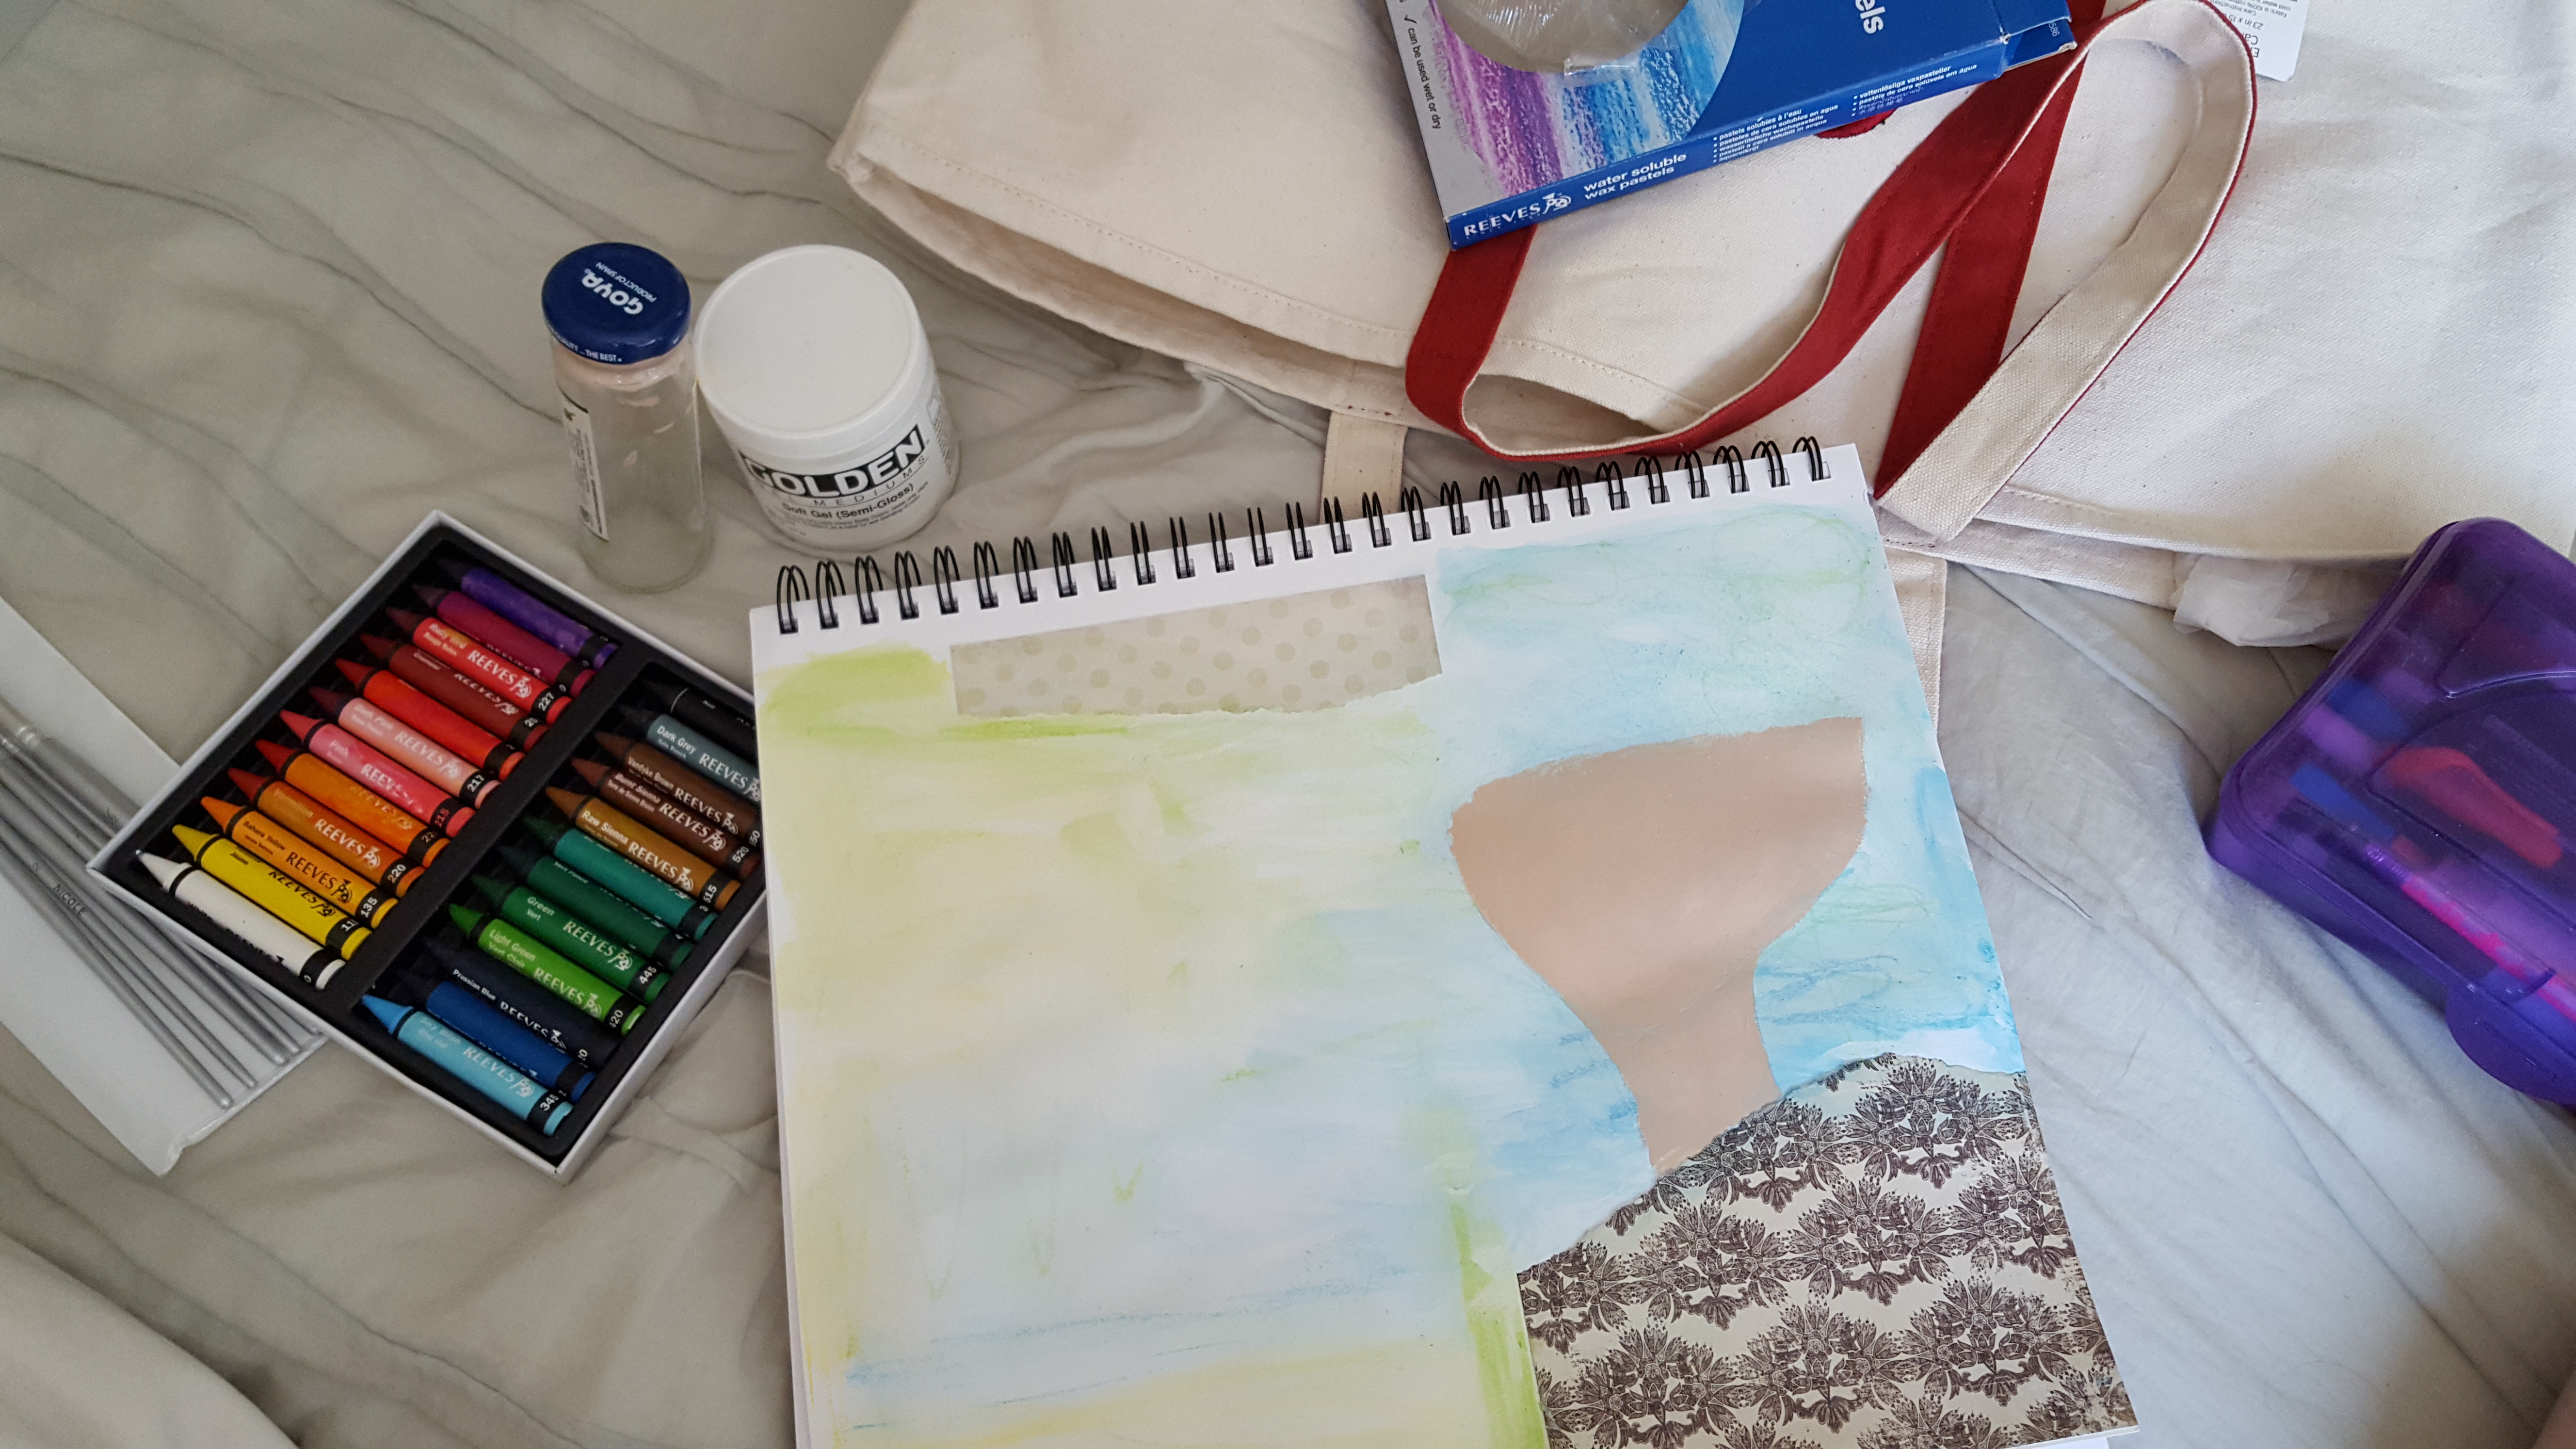


 Foam brush: I got this tip from painter Flora Bowley when I saw that it’s generally the one brush she used to paint most of her paintings! I figured there must be something to it, and sure enough it’s a pretty cool tool. The foam brush is great particularly to use on bigger pieces because you can cover a lot of ground with a few swipes. They’re great for blending and making patterns + marks, too.