Home/Tag: mixed media

Art In Progress: Dream Big, Little One

Art In Progress: See how I create Inspirational art for kids + the kid in you. To learn about art technique + my motivation for creating this piece, click through for a peek. See how paintings evolve from start to finish! Original artwork by Stephanie Martel.

No dreamer is ever too small; no dream is ever too big. -anonymous

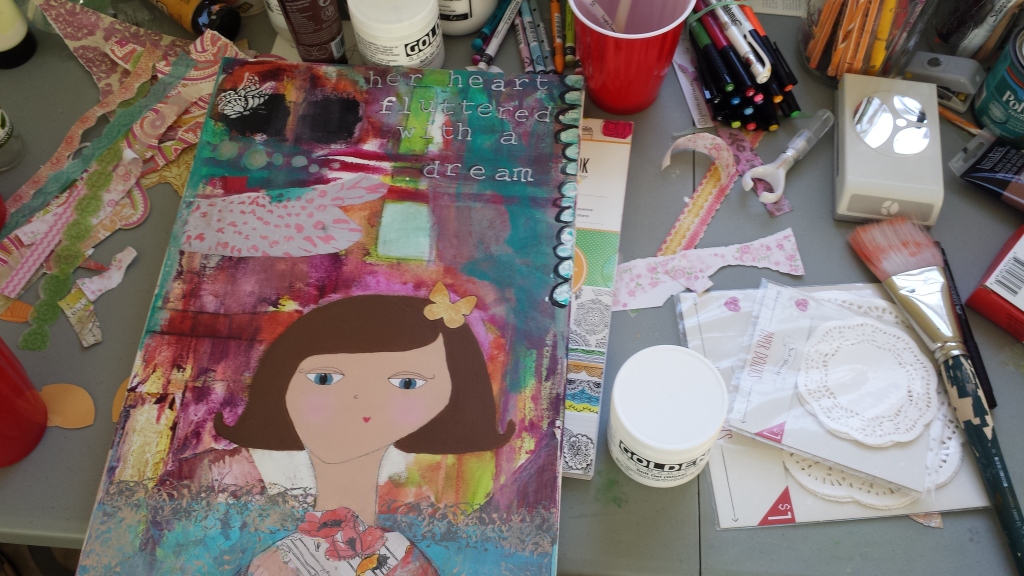
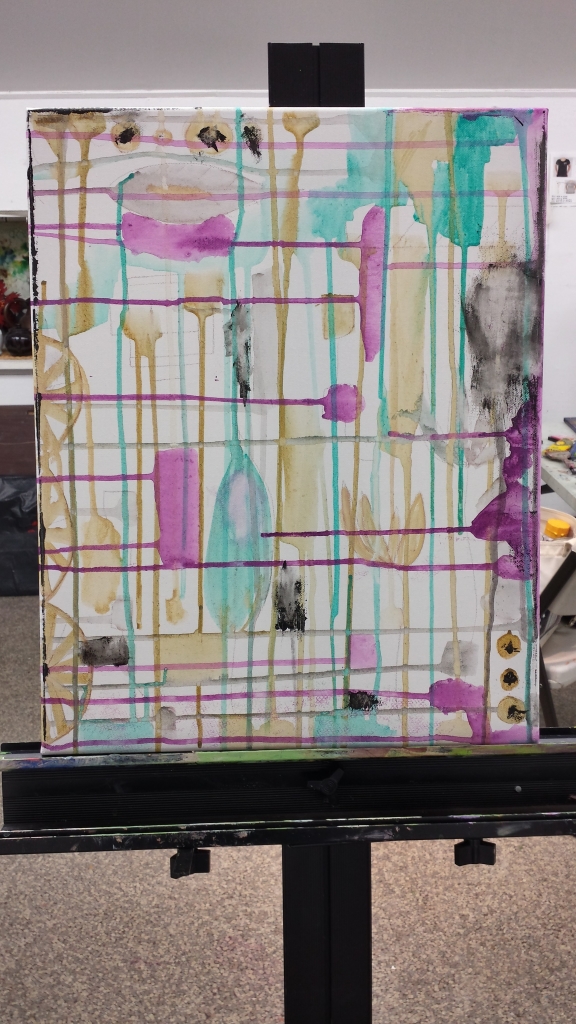
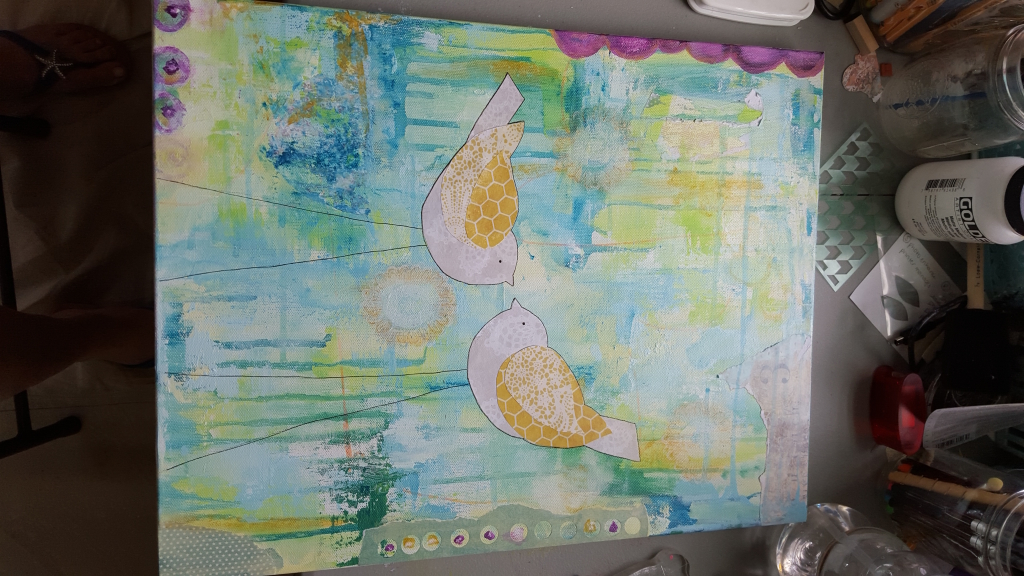
I started this piece in class one night and it came out quite quick.  I wanted to try a different color palate–one that involved a few cooler colors and no pinks 🙂

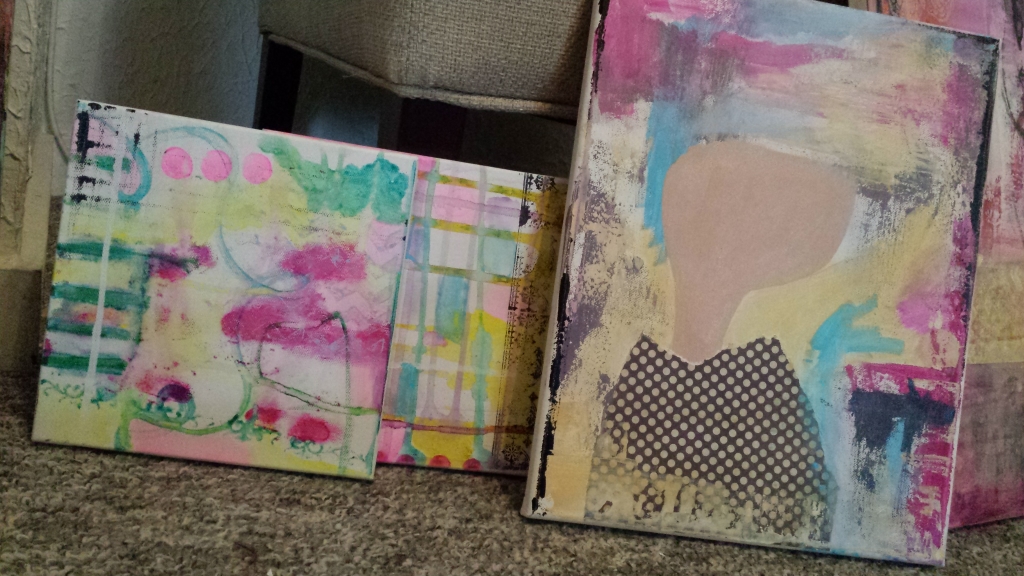
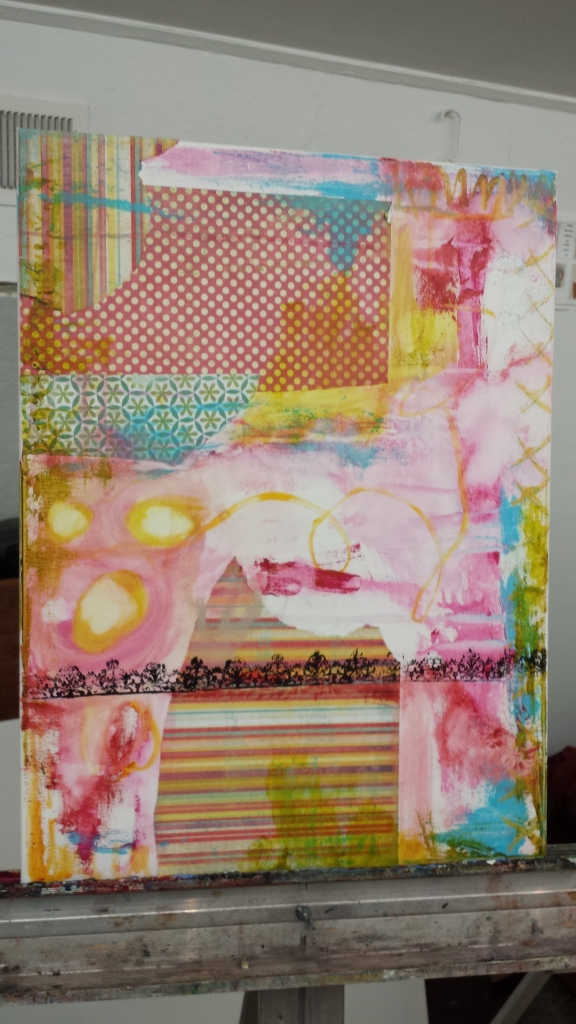
Here are the first couple of layers:

dream big art in progress painting

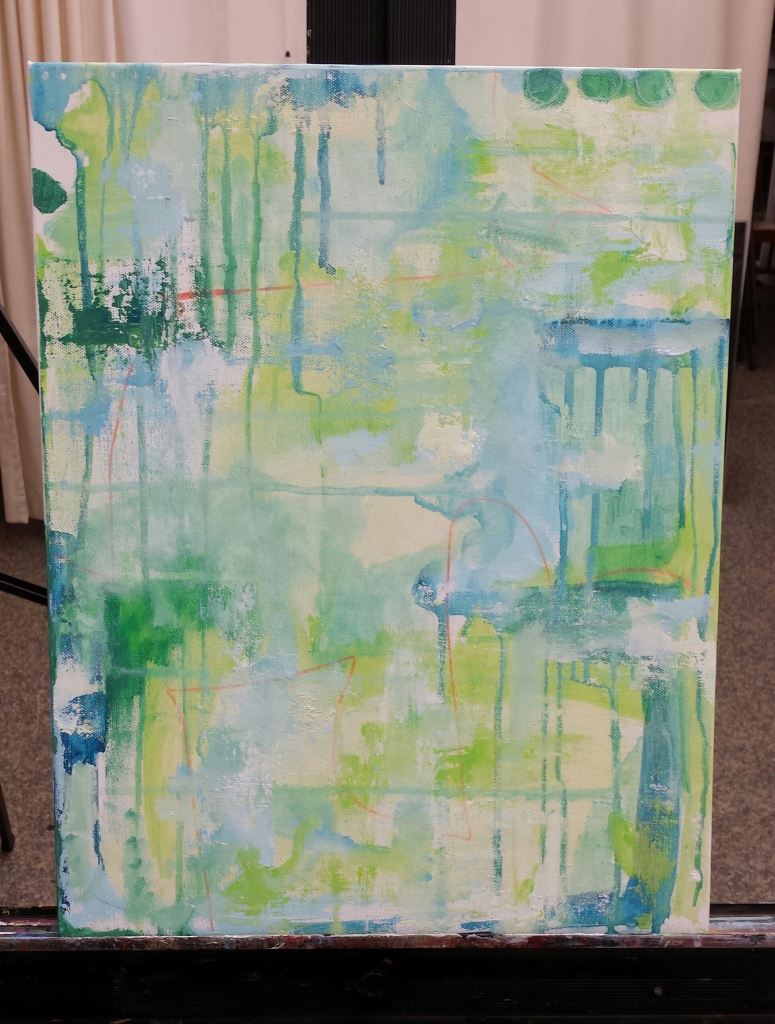
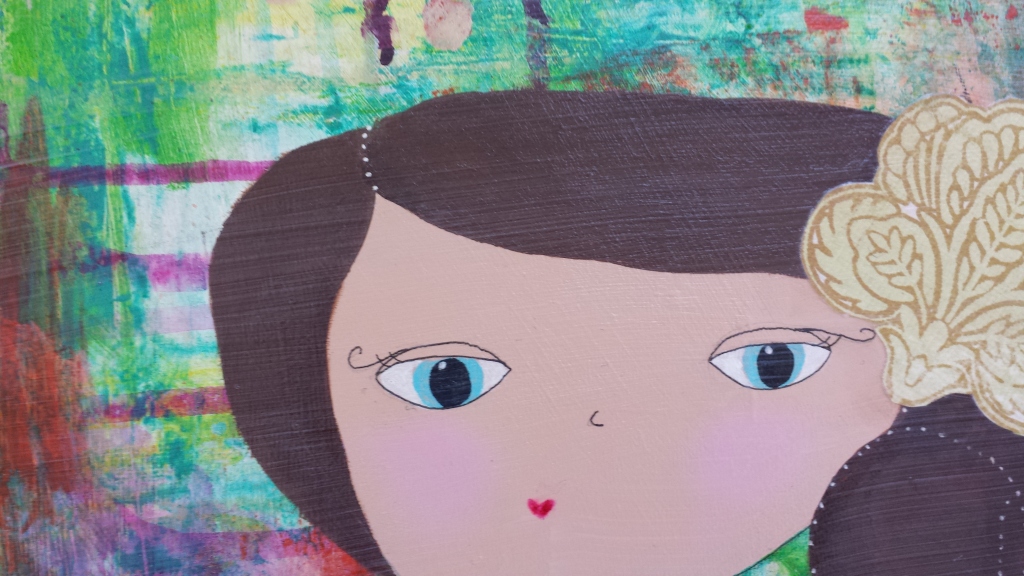
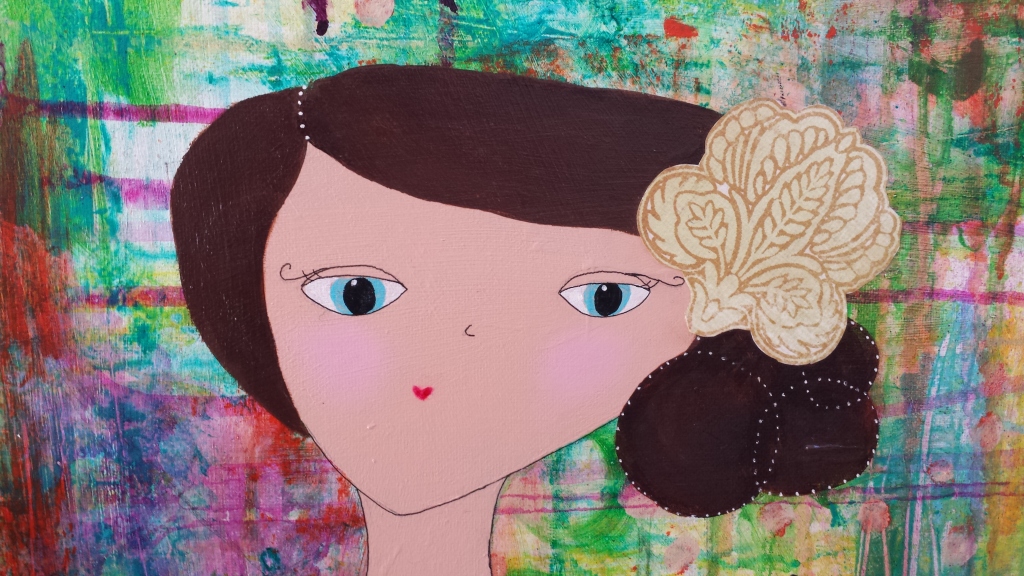
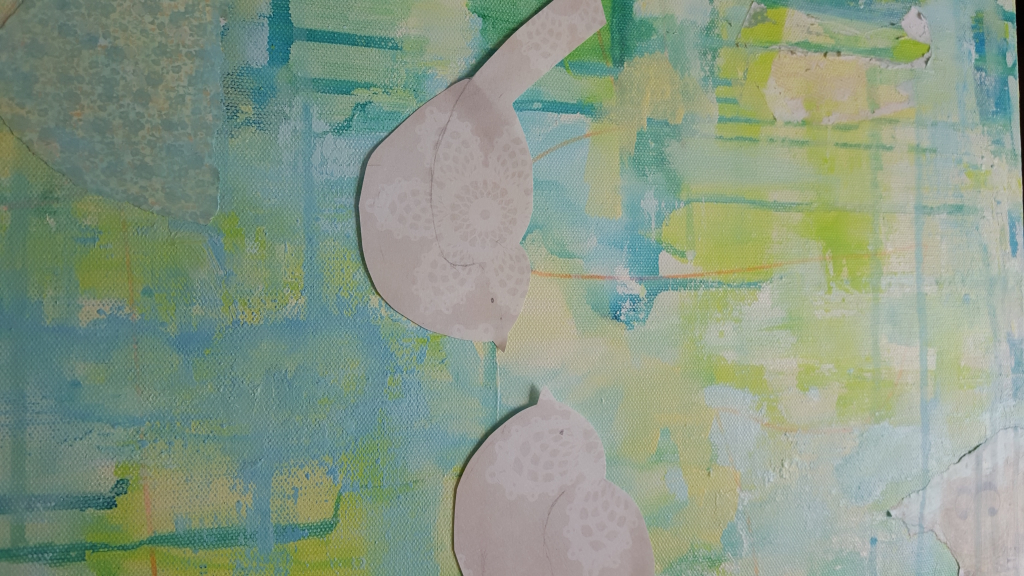
The background colors + style reminded me of trees so I cut out a few chubby birdies to add to the piece.

dream big painting art in progress technique

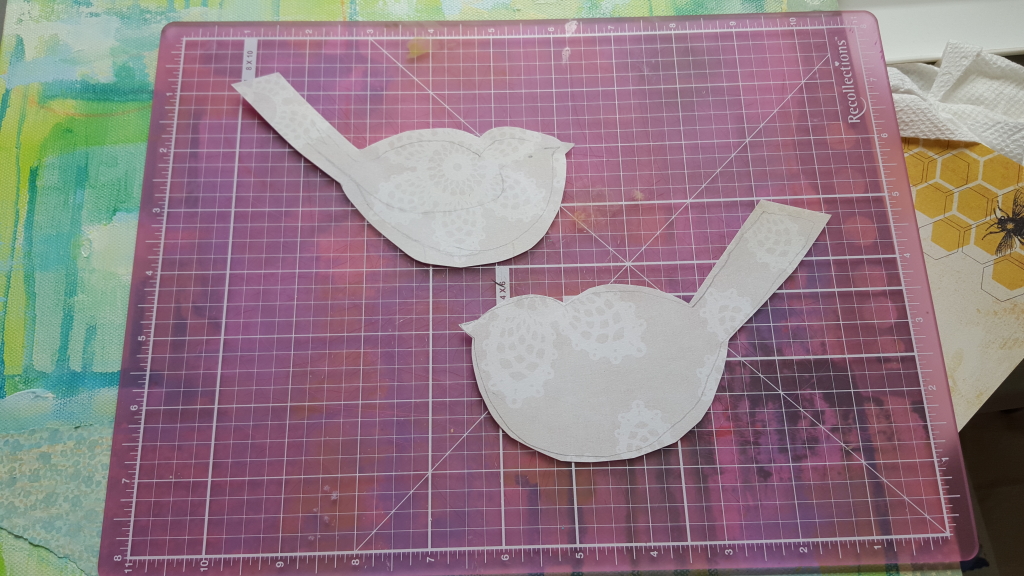
Here they are up close + with more layers for the wings.  One is a little bigger so I made her the mamma.

dream big painting art in progress technique
Next, I added some embellishments around the edges of the painting.  I wanted a little more interest in the background, so I added purple and some collage pieces.  The birds got an outline and some sweet stick legs–Don’t you just love the gentleness of them?

dream big painting art in progress technique

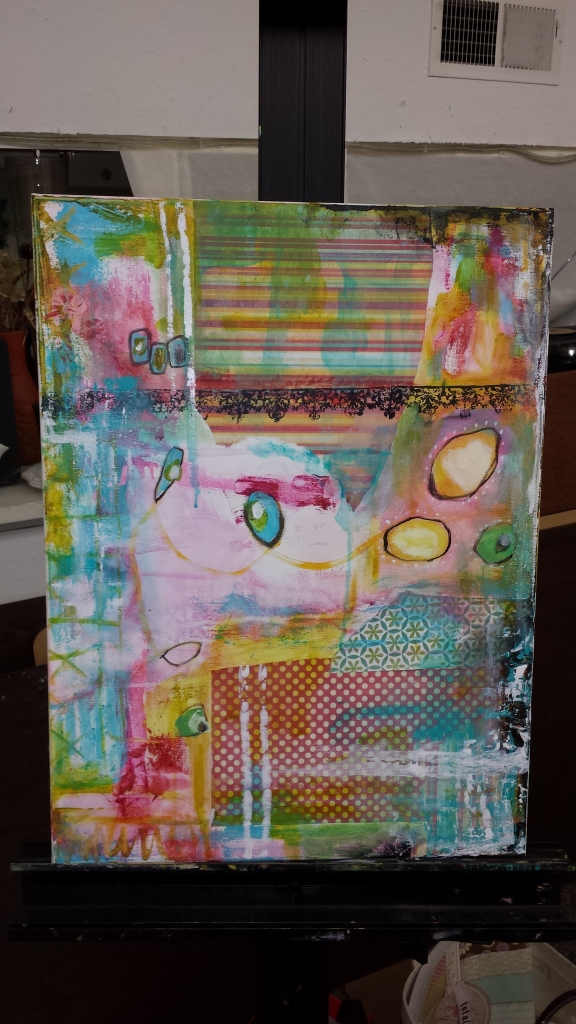
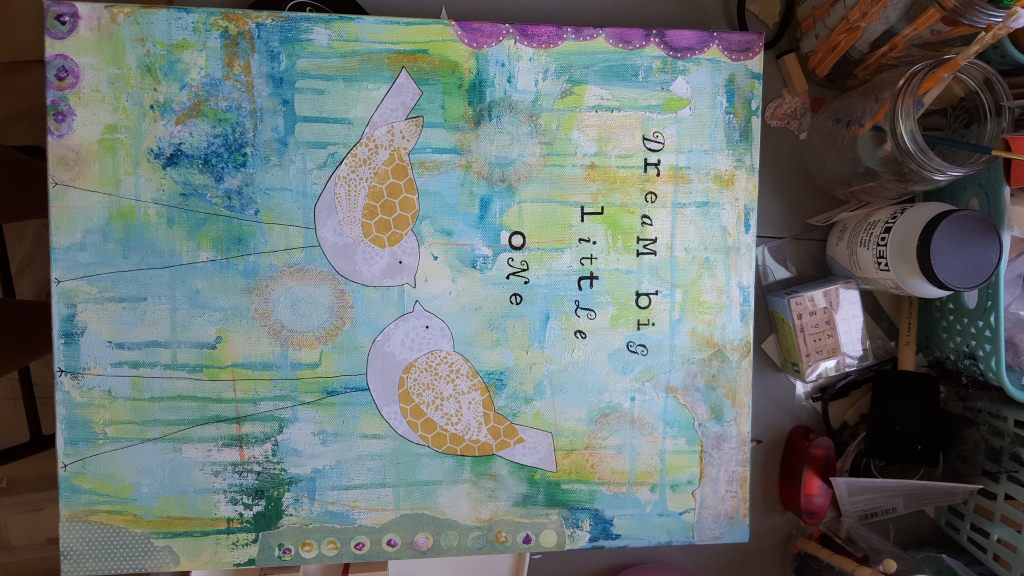
Then lastly, I added in the sentiment: Dream Big, Little One.  I love how simple yet strong that message is.

dream big painting art in progress technique

You can buy the print here in my shop.

Remember to dream big, friend!

Signature


Art In Progress: Dream Big, Little One2018-03-29T20:23:08-04:00

How to: Add An Isolation Coat To Your Mixed Media Painting

How To

I’ve realized in my journey with art that there’s a lot of need for basic information like this one on how to apply an isolation coat, so I’m adding a new series of posts that I’ll contribute to as I learn new things.  I’m calling it: How To: A Series of Helpful Hints.  We could all use a little a help, right?  It’s my hope in this series to pass along some good information in a way that is easy for everyone to understand.

For example: I didn’t even know what an isolation coat was until I spoke to someone at Golden products!  I wanted to find a way to seal my art work that included painting + collaging materials and it seemed like there were a lot of opinions out there.   I wanted certain steps I can take to ensure that my art won’t look crappy after a few years–I don’t want to sell something and have people come back to me disappointed in the quality.

How to add an isolation coat to your mixed media painting. Use this technique to protect your artwork!

Enter: the isolation coat.  This kind of top coat is used to create a barrier between your work and the final top coat, which is often varnishing. (I’ll get to that in another post)

And there are different materials you can use for an isolation coat, mine focuses on what to use for acrylic paints and collage.  As a basic rule,  any work should always be kept out of direct sunlight.  It only speeds up the natural decomposition of things.

Just a word of caution:  If you scan or take pictures of your pieces for reproduction, it’s best to do that first before adding the isolation coat to avoid the shiny glare in pictures.

Great Graphics Workshop Registration

So here’s my process:

I took a completely dry and finished painting + cleaned it off with a damp cloth to make sure there’s no dust or other goop lurking on the surface, especially on the collage elements.

How to add and isolation coat

I got my supplies ready:

  • Golden soft gel gloss (any other finish will dull the colors)
  • Distilled water
  • Soft, large brush
  • Palette knife used to stir

How to add and isolation coat

In a glass cup, I combined 2 parts soft gel gloss to 1 part distilled water and then mixed with the knife.  Depending on how many pieces you are coating, you can gauge the amount you need.  The tech guy at Golden said to go by how it feels–not too runny, not too thick–it will all be a personal preference type of consistency.

Once I mixed that together, I started applying the mixture evenly and quickly with the soft brush to the entire piece.  An important thing to remember is finish a section and keep moving; do not go back over it, as tempted as you may be!  It will cause the finish to have an uneven “pulled-look”.

Here is a view of what it looks like while applying, it appears a little cloudy, but don’t panic–as long as you use the gloss finish, it will dry clear:

How to add and isolation coat

You can see the strokes, right?  To a certain extent, that will disappear.  If you have a really soft brush, you won’t see many strokes, if at all.  I learned through this process, and seeing some strokes on the finished piece, that I need a new softer brush!

When it dried, this is what it looked like.  The colors are so bright, right?

How to add and isolation coat

And here’s the side view in the sun to show you what I mean about visible brush strokes:

How to add and isolation coat

This was a great learning process for me!  Even though I feel like the brush I used was a little bit of a fail, it still gave me a beautiful finished product– it’s glossy and it really makes the colors pop off the canvas, not to mention it gives the piece a new layer of protection.  And any unused part of the coat mixture can be used again, if you keep it in a sealed container.

Are you looking to connect with other like-minded creatives?  Join my private Facebook Group Here!

Signature


How to: Add An Isolation Coat To Your Mixed Media Painting2018-04-08T20:39:17-04:00

How I Started Painting {And Pictures From My Gallery Opening.}

Wow, wow, wow.  Friends, this past weekend was so monumental for me!  I am part of an art show at a local gallery and showing my art totally put things into perspective.  It felt so right.

Growing up, I was always a little artistic;  I used to draw + make dioramas quietly in my room– it was a way I could relax from the busy-ness of grade school + my large family.  In 3rd grade I won the art contest for my drawing of “what my family means to me” (It was a drawing of us eating Sunday dinner together in the dining room and my dad still has it framed + hung there to this day).

I was always trying to figure out something new to try, artistically.

The creating continued in high school where I would collage with my buds on poster board on the weekends until three in the morning.  We were obsessed with cutting out the right words + images from magazines to show how we were feeling at the time (or how we wanted to feel).  Little did I know, I was actually creating a vision board.

Throughout college and after, I continued to dabble in sketching and painting, but nothing of a consistent, concrete nature.  I would just pick it up now and again when I had some time.

Prep for the show

Fast forward to a couple of years ago when I started taking a local abstract painting class.  It was my first formal art class as an adult and I wasn’t sure what to expect, I just knew I needed to try it.  Would I like it?  Would I be any good at it?  Would I be able to express what was deep in my heart that motivated me to go there in the first place?

Turns out I was pretty bad when I started painting in that abstract class; I felt clumsy and misunderstood.  What I was painting was not jiving with what I wanted to paint.  Looking back, I realize I was painting in a way that would help me fit in–it was awkward to try something new as an adult and I was trying to paint like the other students (and how my teacher told me to).

But painting like everyone else felt wrong.  I wasn’t enjoying it and it quickly began to feel like a task rather than a release.  So I gave myself a pep talk, “Steph you’re here to have fun–to explore the deep desire in your heart to create.  Listening to others and their direction is not going to get you there, so let’s start doing it your way.”  After I admitted painting for them and not me was not going to get me where I wanted to go, everything changed.

I started exploring my own style, my own voice.  Even though it looked very different from my classmates.

And then the girls were born.

Me + my work

This past Sunday when I was standing in front of a wall full of my creations thinking about my rocky start, I was so grateful that I followed my heart + kept trying.  I knew that I needed to express myself through painting and collage, but I wasn’t sure how to do it or where it would lead me.  It was a humbling reminder that a lot of life happens just by showing up and being willing.  This art journey I’m on is so very fulfilling + make me so so happy when I’m immersed in it.

Me + Chris

Me + My Honey

me + my muses

My nieces (and muses)

So I encourage all of you out there reading this to listen to that little whisper inside your heart that’s calling you to do something.  We all have those whispers. Take a mini step today towards that thing, even if it’s just writing it down or saying it out loud.

My 2 hour class each week over the past few years led to this gallery show.  I couldn’t have seen this on my first night of painting in class, but inch by inch, I made a dream come true–and you can too.

Signature
PS: Want to see some of the girls in the show?  Look here and here and here.

How I Started Painting {And Pictures From My Gallery Opening.}2018-03-29T20:23:14-04:00

Art In Progress: Take It Slow

Art In Progress: See how I create Inspirational art for kids + the kid in you. To learn about art technique + my motivation for creating this piece, click through for a peek. See how paintings evolve from start to finish! Original artwork by Stephanie Martel.

This piece, “Take It Slow” actually started by me throwing some leftover color from my art class palette on a canvas.  I hate wasting paint so sometimes I just start a new canvas quickly at the end of class to use it up.  Sometimes it works, sometimes it doesn’t, but I liked these colors together this time.

After I put the color on, I used matte medium to ‘glue’ the collage piece at the bottom.  I started loosely sketching the face out, too.  Suprisingly to me, this was all done in the first session; It reminds me that sometimes working quickly works out better and not to do too much deep thinking, just let the paint speak through the painting….

Take it slow 1

Here is a peek at some other pieces I was working on at the same time.  I try to keep a few in rotation so if I’m waiting for one to dry a little, I can work on another one.  Momentum is my friend 🙂

Take it slow 2

This next phase shows a little more color, some stamping and a sketch of her face.  I added some objects in to inspire the eye to move around the painting.  I love these colors together!

Take it slow 3

Up next: the eyes shine through.  There’s always something magnetic to me when the eyes surface–almost like she comes alive!  So to bring her more to life, I added a little collage piece in the upper right, a flower in her hair and a collar.

Take it slow 4

Stamping in the sentiment gets me so excited–it’s a finishing touch that brings me a lot of joy.

Take it slow Final

This sweet girl is one of my favorites lately, not only for the color scheme, but for the reminder.  You love her too? A print of her is available in my shop.

Be gentle–It’s always good to take it slow.

Signature


Art In Progress: Take It Slow2018-03-29T20:23:15-04:00

Art In Progress: Be Kind To Yourself

Art In Progress: See how I create Inspirational art for kids + the kid in you. To learn about art technique + my motivation for creating this piece, click through for a peek. See how paintings evolve from start to finish! Original artwork by Stephanie Martel.

This piece is my recent favorite.  I think because I experimented with some different color combinations and in the end it came out quite different than when I started.  I didn’t totally love it and then…wham!  It worked out.  That’s always a good feeling.

Here’s the first pass through–just a simple throw on of some paint.  I just try to get the brush moving and forget about expectations; letting go is so important in this first phase.  I try to follow the flow and have fun.

Be Kind To Yourself 1

I had sketched out a few objects that kind of called to me in the moment–a lotus-type flower, a feather and wheel-like objects.  Can you see them?  I’m not sure where the inspiration came from for those particular things, I just try to go with what feels good.  It’s like my subconscious is talking to me through my brush.

Be Kind To Yourself 2

As I keep layering colors, it warms up the original palette.  It’s a good reminder that things evolve and change as we go.

Be Kind To Yourself 3

The girl was added during this next phase.  I was trying to resist the urge to overdo the background with colors, so I forced myself to stop; I wanted to focus more on the feel and warmth of the piece.

Be Kind To Yourself 5

As you can see, I changed her dress a little.  Hello collage!  I didn’t love the sash, so I tried something else.  I’m always open to changing + moving + switching it up so that I don’t get too rigid in my ways.    It’s easy to get attached early in the process, but I find when I do that, it jams me up creatively.

The softness of her eyes inspired the sentiment for me.  I just think it’s so important to be reminded: we all need to be kind, especially to ourselves.

Be Kind To Yourself 6

I added in some accents: feathers in her hair, flowers and a little stamping.

Be Kind To Yourself 7

I love how she turned out! I may add some small collage pieces around the border and accents to her hair, but I’m going to live with it like this for a bit.  In the meantime, I’m going to hang her up and listen to her sweet wisdom.

Prints now available in the shop.

Signature

Art In Progress: Be Kind To Yourself2018-03-29T20:23:15-04:00

Art In Progress: Circus

Art In Progress: See how I create Inspirational art for kids + the kid in you. To learn about art technique + my motivation for creating this piece, click through for a peek. See how paintings evolve from start to finish! Original artwork by Stephanie Martel.

This one kind of went fast–I apologize for not starting my documentation sooner along the way, the first layer happened in such a flash!  This piece felt very playful from the beginning; I’m not sure if it was the colors or the fun patterns of the collage, but it had a very light feel to it all the way through.  I think that’s what inspired the frilly loops in the middle.

circus 1

I added some darker areas around the edges and defined the objects a little more.  I like how the contrast between the dark and the light added some depth to the whole thing–it can feel risky to lay down really dark colors over really light, but it’s important to take risks and try things out.  Just like life, yes?

circus 2

Then to give it a little bit of a different perspective, I flipped the canvas.  It really helps me to do this as I go through the stages because it offers a different view–sometimes I like it, sometimes I don’t! Ha.  But it’s good to keep things moving and not to get too attached throughout the process.  Otherwise it doesn’t evolve how it should (naturally, without resistance).

circus 3

Although it’s temporarily finished, I may use this as a background for something else.  There’s always an opportunity to show it in a different light…

Signature

P.S. As a bonus this week, I’m participating in a giveaway where you can win $100 to Anthropologie and $80 to Amazon. WOOHOO! This giveaway is open internationally, so anyone is welcome to participate.

Just enter through the Rafflecopter widget below and if you have a minute, check some of the lovely blogs and say hey.

group-giveaway

The Wellness Doer | Break the Sky | Kitty & Buck

Rainstorms and Love Notes | Jade and Oak | Beauty in Your Eyes | The Vibrant Living Project

The Alisha Nicole | A Harvest of Blessing | Sea Salt and Caramel | The Nectar Collective

a Rafflecopter giveaway

Art In Progress: Circus2018-03-29T20:23:16-04:00
Go to Top